
Tag: gluten free

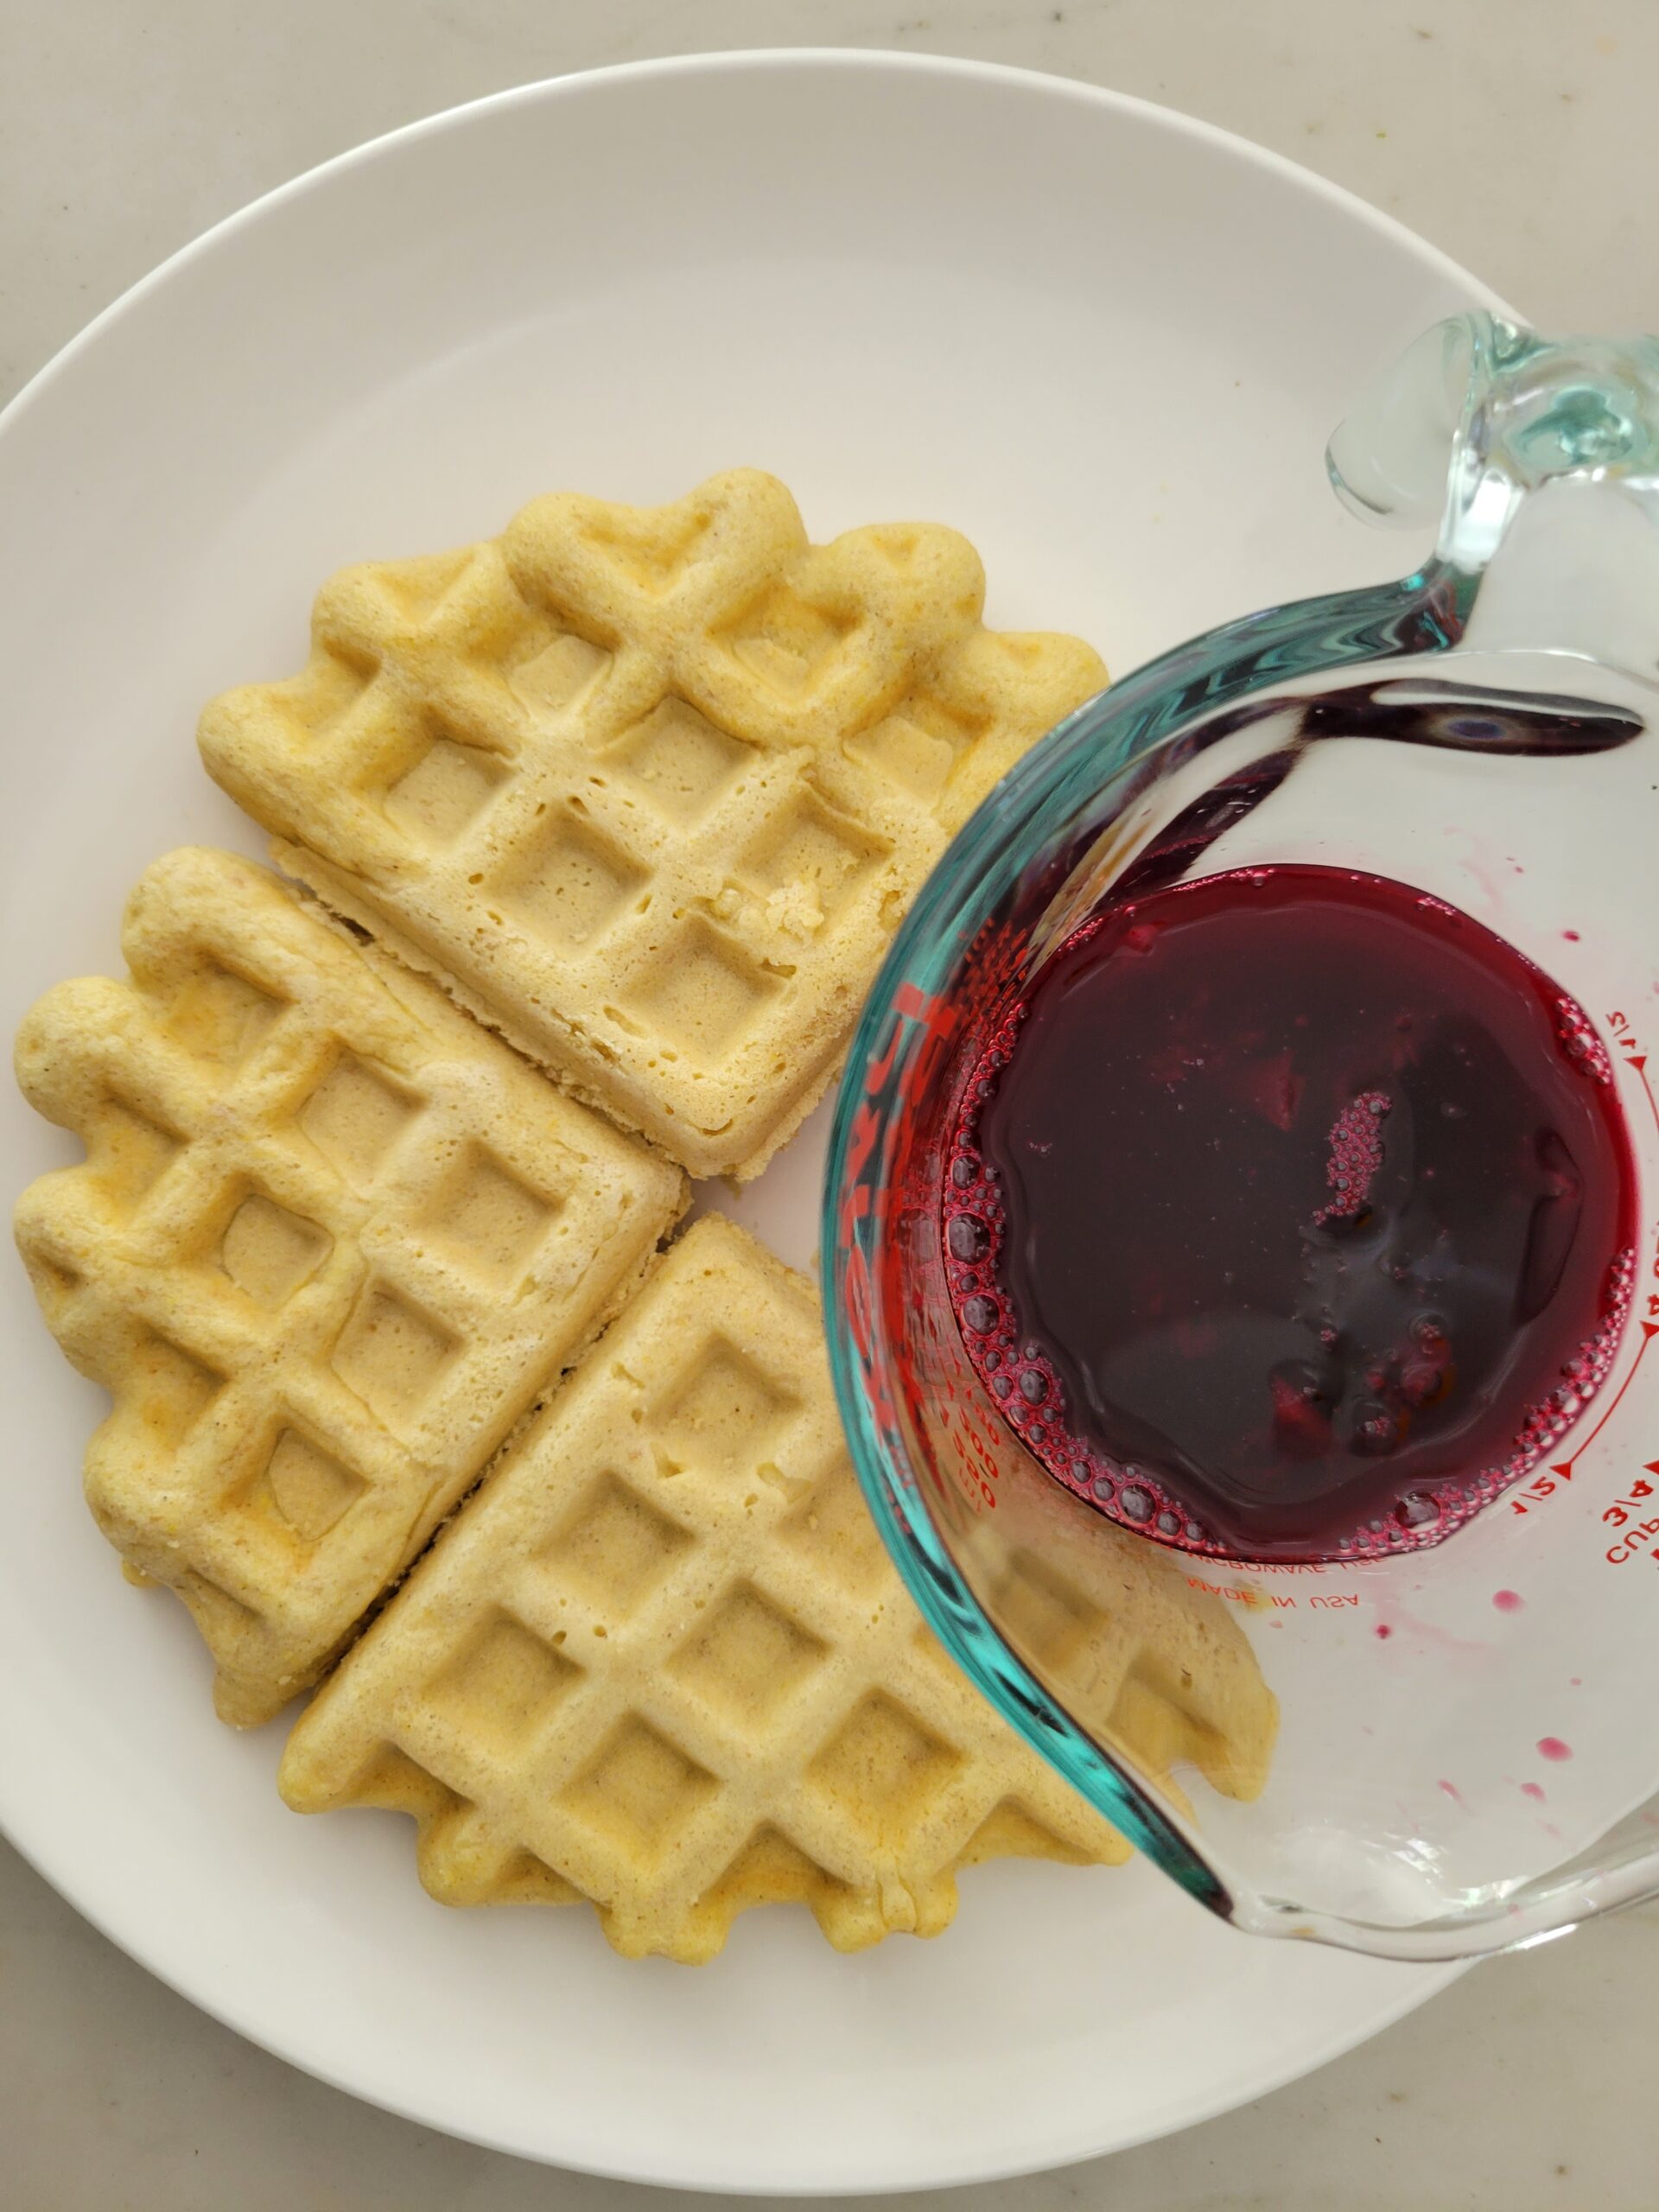
WAFFLES WAFFLES WAFFLES!!!
VERSION 1: Gluten Free Waffles
Kimberlee Bethany Bonura, 11/29/23
Makes approximately 8 – 10 waffles
Needed:
waffle iron
stainless steel bowl and whisk
ladle or spoon
4 eggs
2 cups water
1/2 cup olive oil
3 teaspoons baking powder
1 cup brown rice flour
1 cup sorghum flour
1 cup millet flour
1/2 cup ground flax meal
Put in bowl:
4 eggs
2 cups water
½ cup olive oil
Whisk well.
Add to bowl:
3 teaspoons baking powder
1 cup brown rice flour
1 cup sorghum flour
1 cup millet flour
½ cup ground flax meal
Whisk until smooth.
Plug in the waffle iron to heat it up.
When your waffle iron is hot, scoop about ½ cup of batter into the center of the waffle iron.
FOLLOW YOUR WAFFLE IRON’S INSTRUCTIONS FOR BAKING WAFFLES.
You can store waffle batter in a covered container in the refrigerator for up to 2 days.
To keep waffles warm, heat oven to warm and put waffles on an oven safe plate or dish in the oven until you’re ready to eat.
ALLERGY STATEMENT:
Gluten-Free, Milk/Dairy Free, Tree Nut Free, Fish Free, Crustacean Shellfish Free, Peanut Free, Soy Free, and Sesame Free
VERSION 2: Gluten Free AND VEGAN Waffles
Kimberlee Bethany Bonura 11/29/23
Makes approximately 8 – 10 waffles
Needed:
waffle iron
stainless steel bowl and whisk
ladle or spoon
2 ½ cups water
1/2 cup olive oil
3 teaspoons baking powder
1 cup brown rice flour
1 cup sorghum flour
1 cup millet flour
1 cup ground flax meal
Put in bowl:
2 ½ cups water
½ cup olive oil
1 cup ground flax meal
Whisk well.
Add to bowl:
3 teaspoons baking powder
1 cup brown rice flour
1 cup sorghum flour
1 cup millet flour
Whisk until smooth.
Plug in the waffle iron to heat it up.
When your waffle iron is hot, scoop about ½ cup of batter into the center of the waffle iron.
FOLLOW YOUR WAFFLE IRON’S INSTRUCTIONS FOR BAKING WAFFLES.
You can store waffle batter in a covered container in the refrigerator for up to 2 days.
To keep waffles warm, heat oven to warm and put waffles on an oven safe plate or dish in the oven until you’re ready to eat.
ALLERGY STATEMENT:
Gluten-Free, Milk/Dairy Free, Tree Nut Free, Egg-Free (VEGAN), Fish Free, Crustacean Shellfish Free, Peanut Free, Soy Free, and Sesame Free
ON TOP OF YOUR WAFFLE: Blueberry Sauce
Kimberlee Bethany Bonura 11/29/23
Great for pancakes and waffles, as well as a topping for cheesecake, angel food cake, and ice cream! This is a sauce because the whole blueberries are left in the sauce; you can strain out the blueberries and bits if you prefer a smooth syrup.
Needed:
1/2 cup turbinado sugar
2 cups water
2 cups fresh blueberries
In a saucepan, put:
½ cup turbinado sugar
2 cups water
2 cups fresh blueberries
Put saucepan on burner and start burner on high.
Bring water to a boil, then turn down to medium heat.
Let boil 5 – 10 minutes, stirring regularly to prevent scorching and/or spilling over.
Serve and enjoy warm or pour into a bottle and enjoy later. Blueberry sauce can be stored for about 1 week in refrigerator. (If you know how to prepare and sanitize bottles for canning, then it can be stored longer, based on your canning preparation techniques.)
ALLERGY STATEMENT:
Gluten-Free, Milk/Dairy Free, Tree Nut Free, Egg-Free (VEGAN), Fish Free, Crustacean Shellfish Free, Peanut Free, Soy Free, and Sesame Free
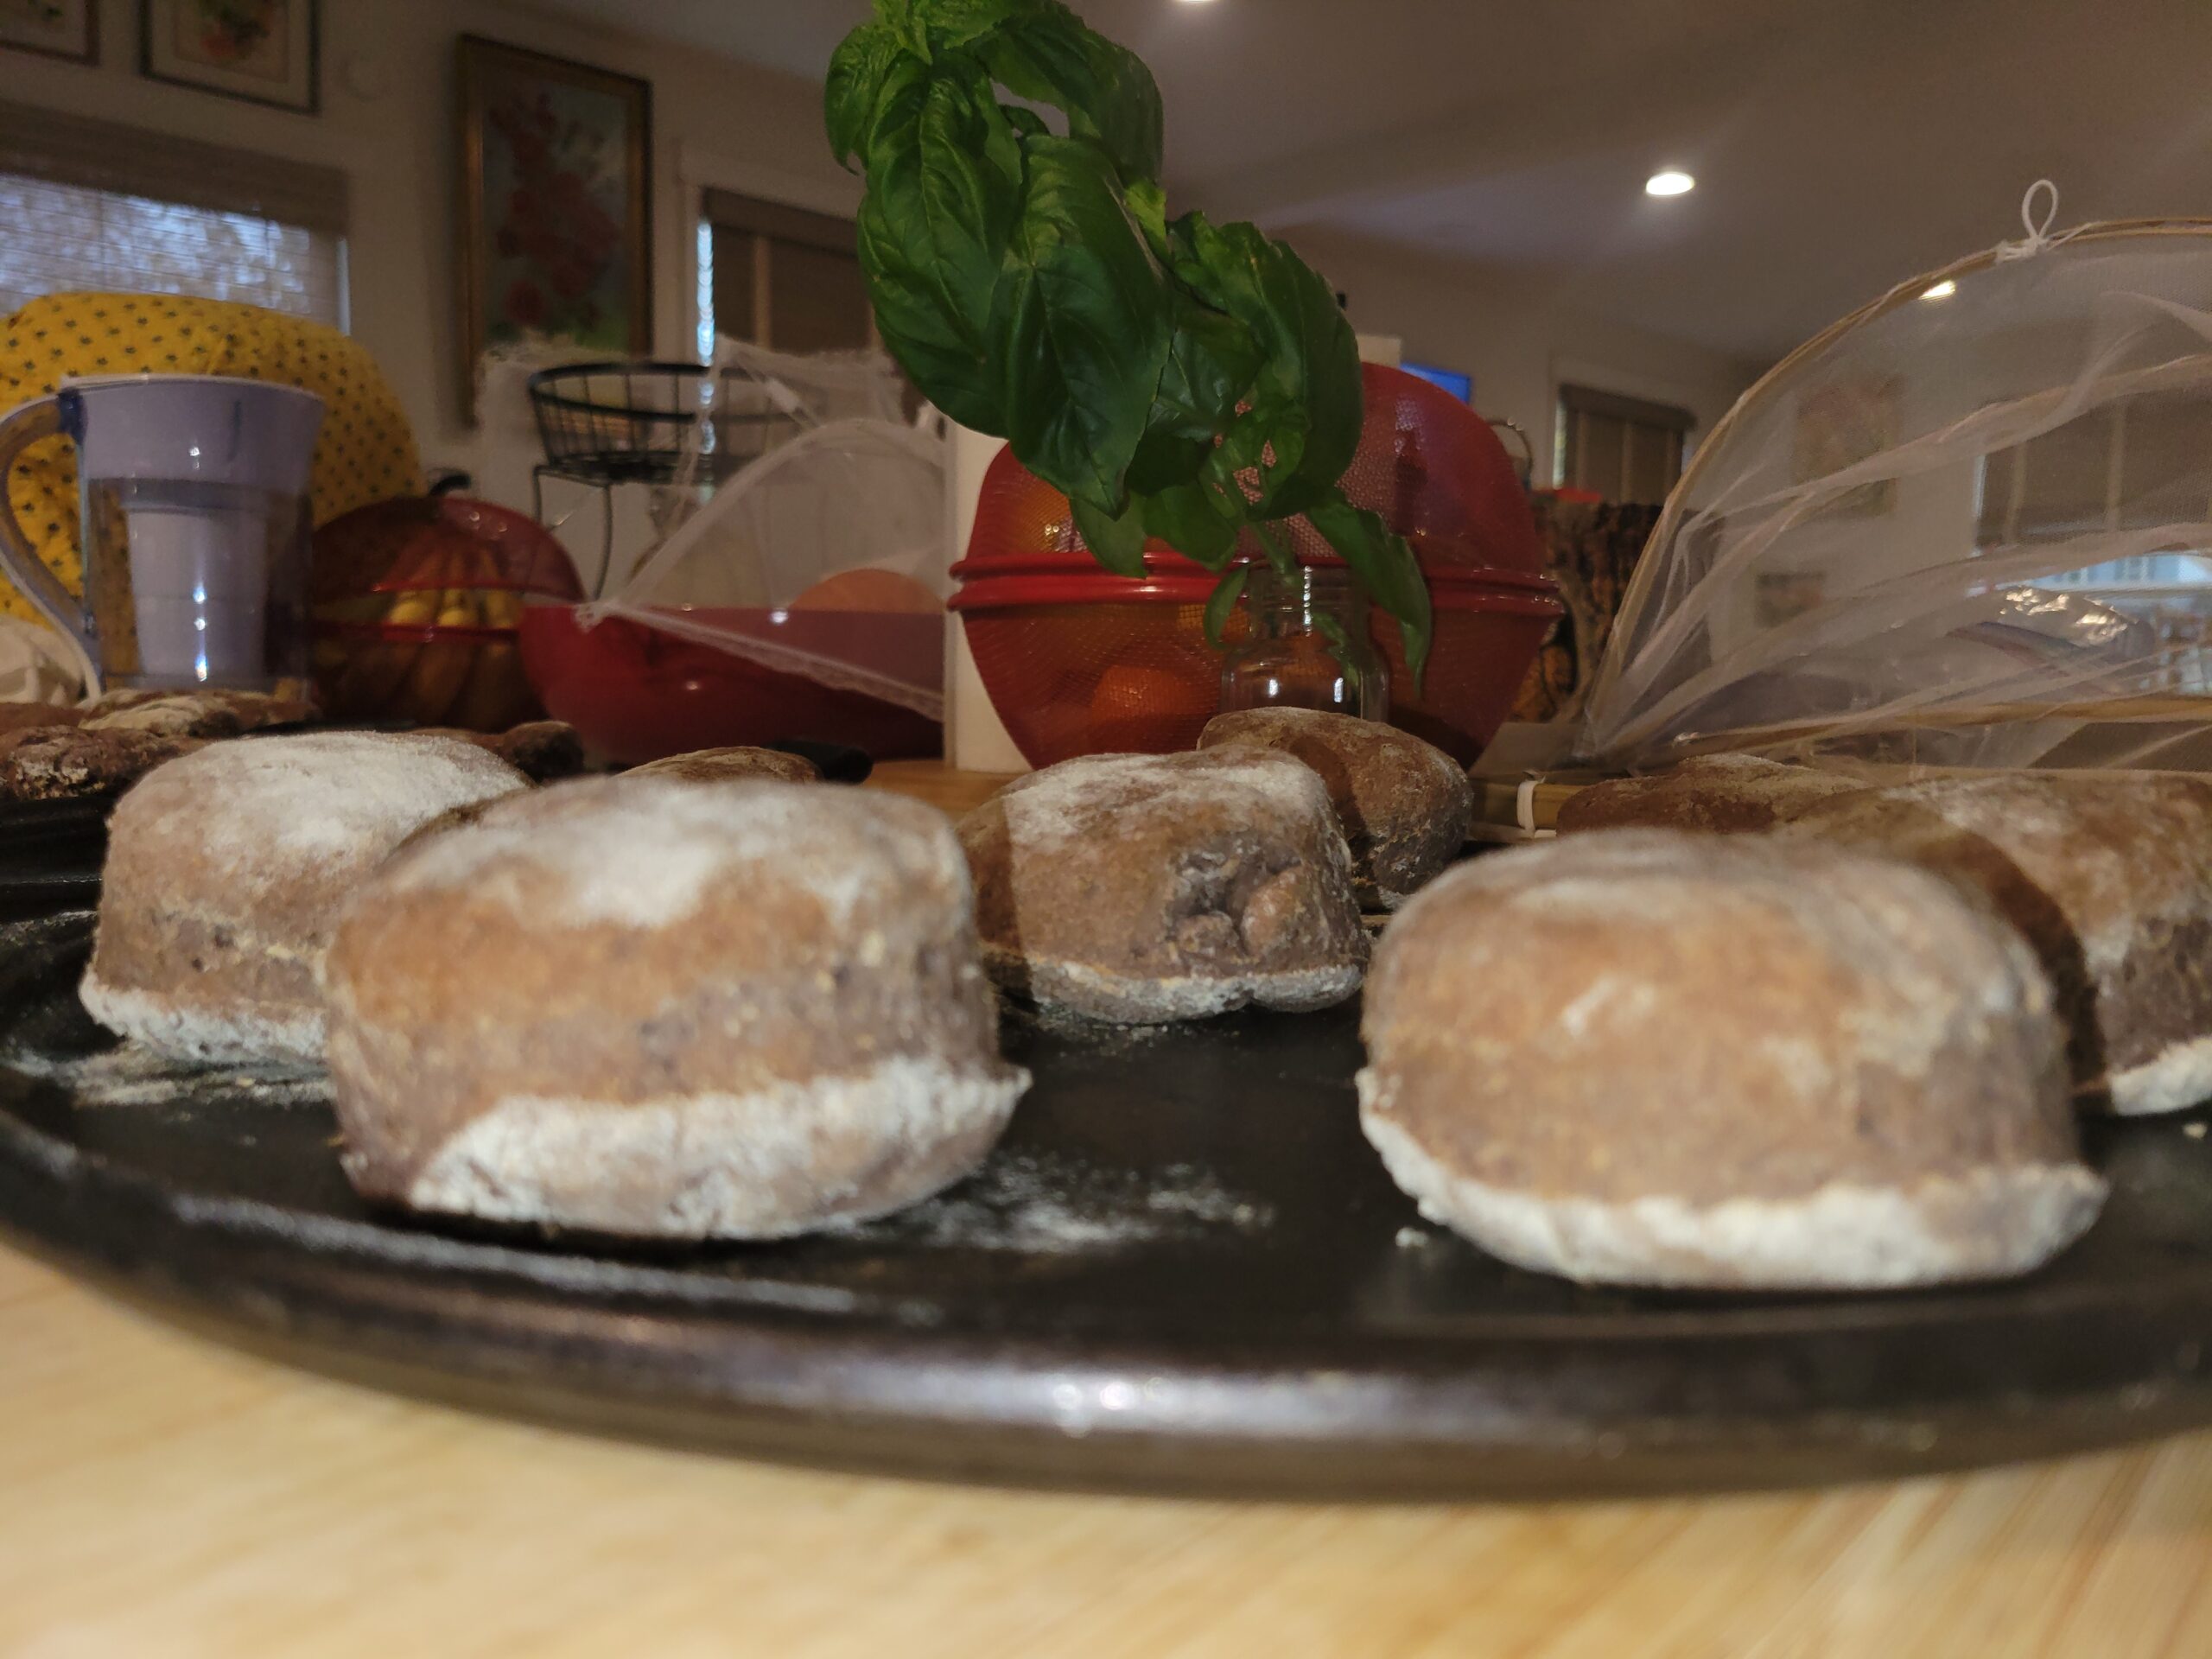
Multi-Grain Gluten Free AND Vegan Biscuits
Makes approximately 27 – 30 biscuits.
11/20/2023
Make your “flax eggs.” In a small bowl, place:
Leave to soak for 5 minutes.
Whisk with a fork.
Place dry ingredients in a stainless-steel mixing bowl:
Mix lightly on low speed.
Add wet ingredients to the bowl:
Mix until blended, but it will be sticky and like children’s clay.
Oil 3 large cast iron pizza pans.
Preheat oven to 425 degrees (convection preferred if possible).
Put a sheet of parchment paper on your counter.
Flour it lightly with millet flour.
Drop 1/3 the dough in the center, and flour the top with millet flour dust.
Put another sheet of parchment paper on top.
Use a rolling pin to roll out until about ½ inch thick.
Use a glass or cookie sheet to cut out rounds, and place them onto your pan.
Repeat 2 more times until all dough is rolled out and cut.
Makes about 27 to 30 biscuits, depending on the size of your cutter.
Bake 15 minutes.
Remove from oven, let sit away from drafts for 15 minutes.
ALLERGY STATEMENT:
Gluten Free, Milk/Dairy Free, Egg Free, Tree Nut Free, Fish Free, Crustacean Shellfish Free, Peanut Free, Soy Free, and Sesame Free
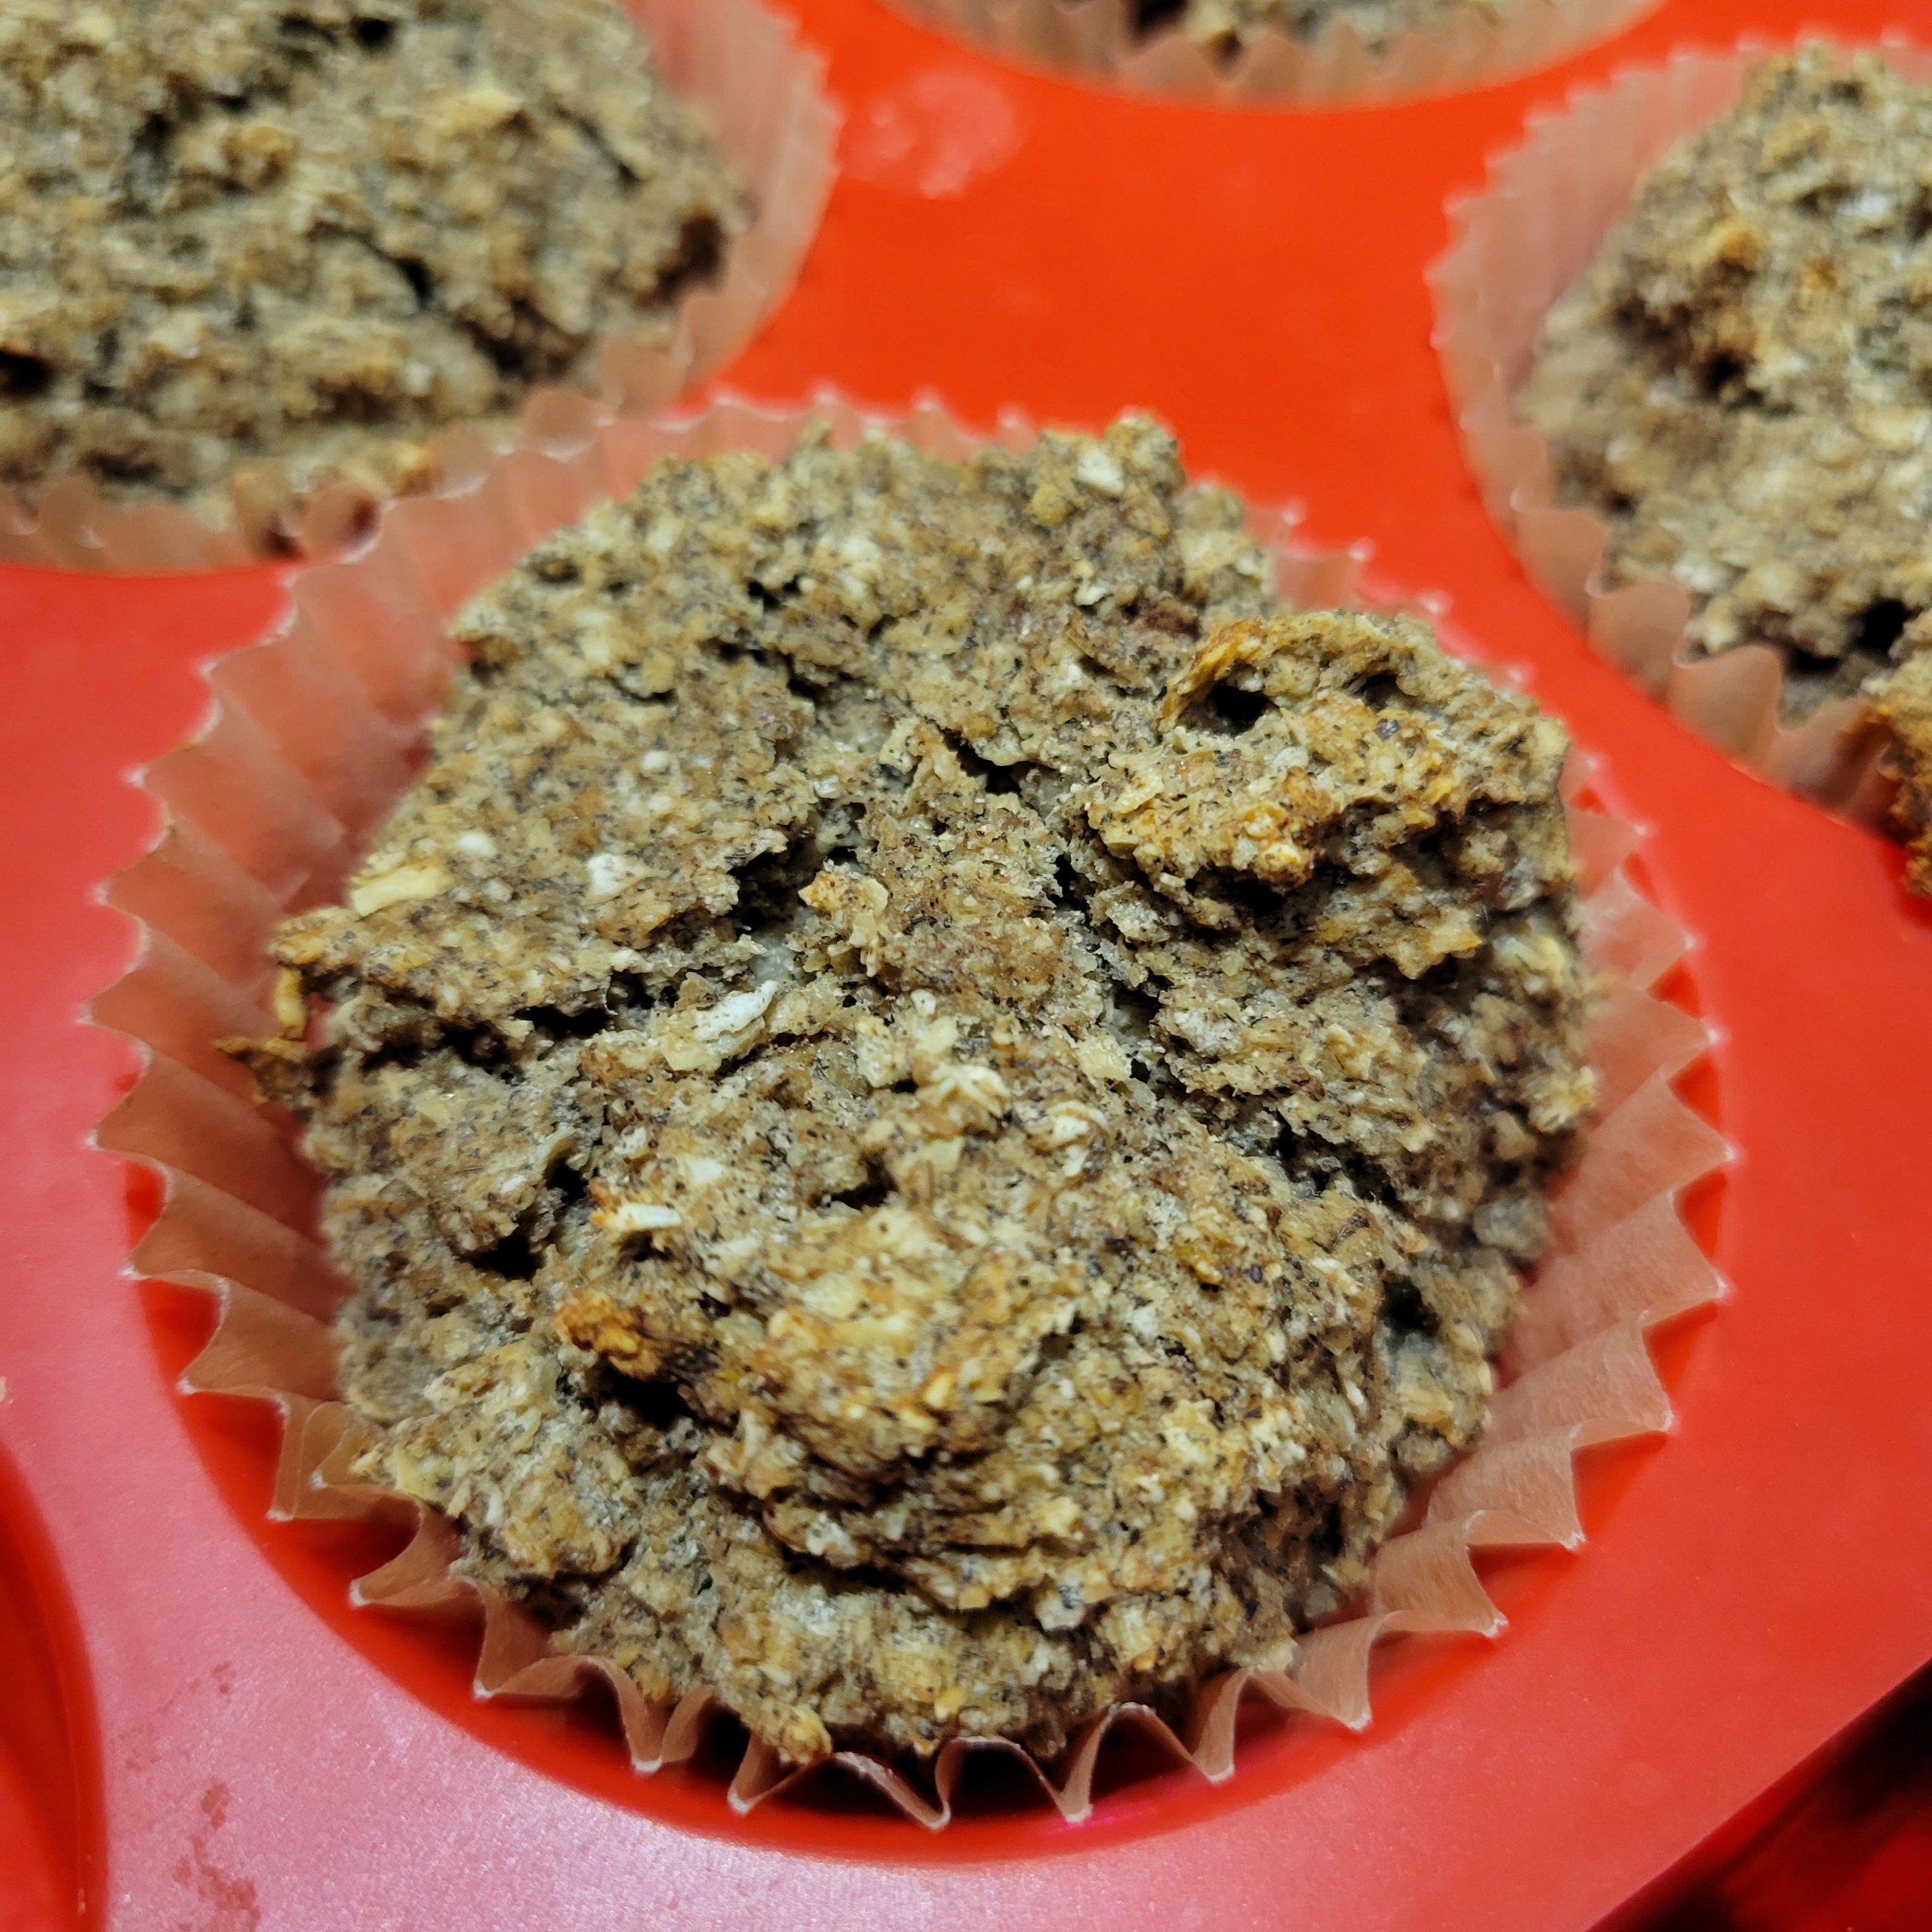
Vegan and Gluten Free Fiber Muffins
11/19/2023
If you have IBS or constipation, almost every university hospital seems to provide the constipation recipe of mixing prune juice, applesauce, and bran (either wheat or oat, depending on your gluten ability) and eating a few tablespoons of “prune pudding” daily. The problem for people like my Autistic Kiddo with IBS-Mixed is that, with sensory sensitivities, this texture may not be tolerable. (My kiddo declared it too much in appearance like throw up to even be able to smell or try it.)
So here is my texture correction: mixing the needed ingredients, with no additional sugar, flax instead of eggs, and GF flour (I chose buckwheat) into a simple muffin. Eating one per day is approximately the same as a daily serving of the “prune pudding” recipe, no sensory issues included!
Makes 12 – 15 muffins
2 tablespoons ground flax meal
¼ cup warm (not hot) water
Let it sit for 5 minutes.
Then whisk with a fork.
Flax eggs
1 ¼ cup unsweetened prune juice
1 cup applesauce
2 teaspoon vanilla extract
Mix until smooth and creamy.
Add:
2 teaspoon baking powder
½ teaspoon baking soda
½ teaspoon cinnamon powder
2 cup oat bran
1 cup buckwheat flour
Mix well.
For muffins: pour into muffin cups. I like parchment paper cups in a silicone muffin pan.
Bake for 25 minutes. Time may vary slightly depending on weather and humidity. Use a toothpick to test if done – toothpick will come out clean when done.
ALLERGY STATEMENT:
Gluten-Free, Milk/Dairy Free, Egg-Free (VEGAN), Tree Nut Free, Fish Free, Crustacean Shellfish Free, Peanut Free, Soy Free, and Sesame Free
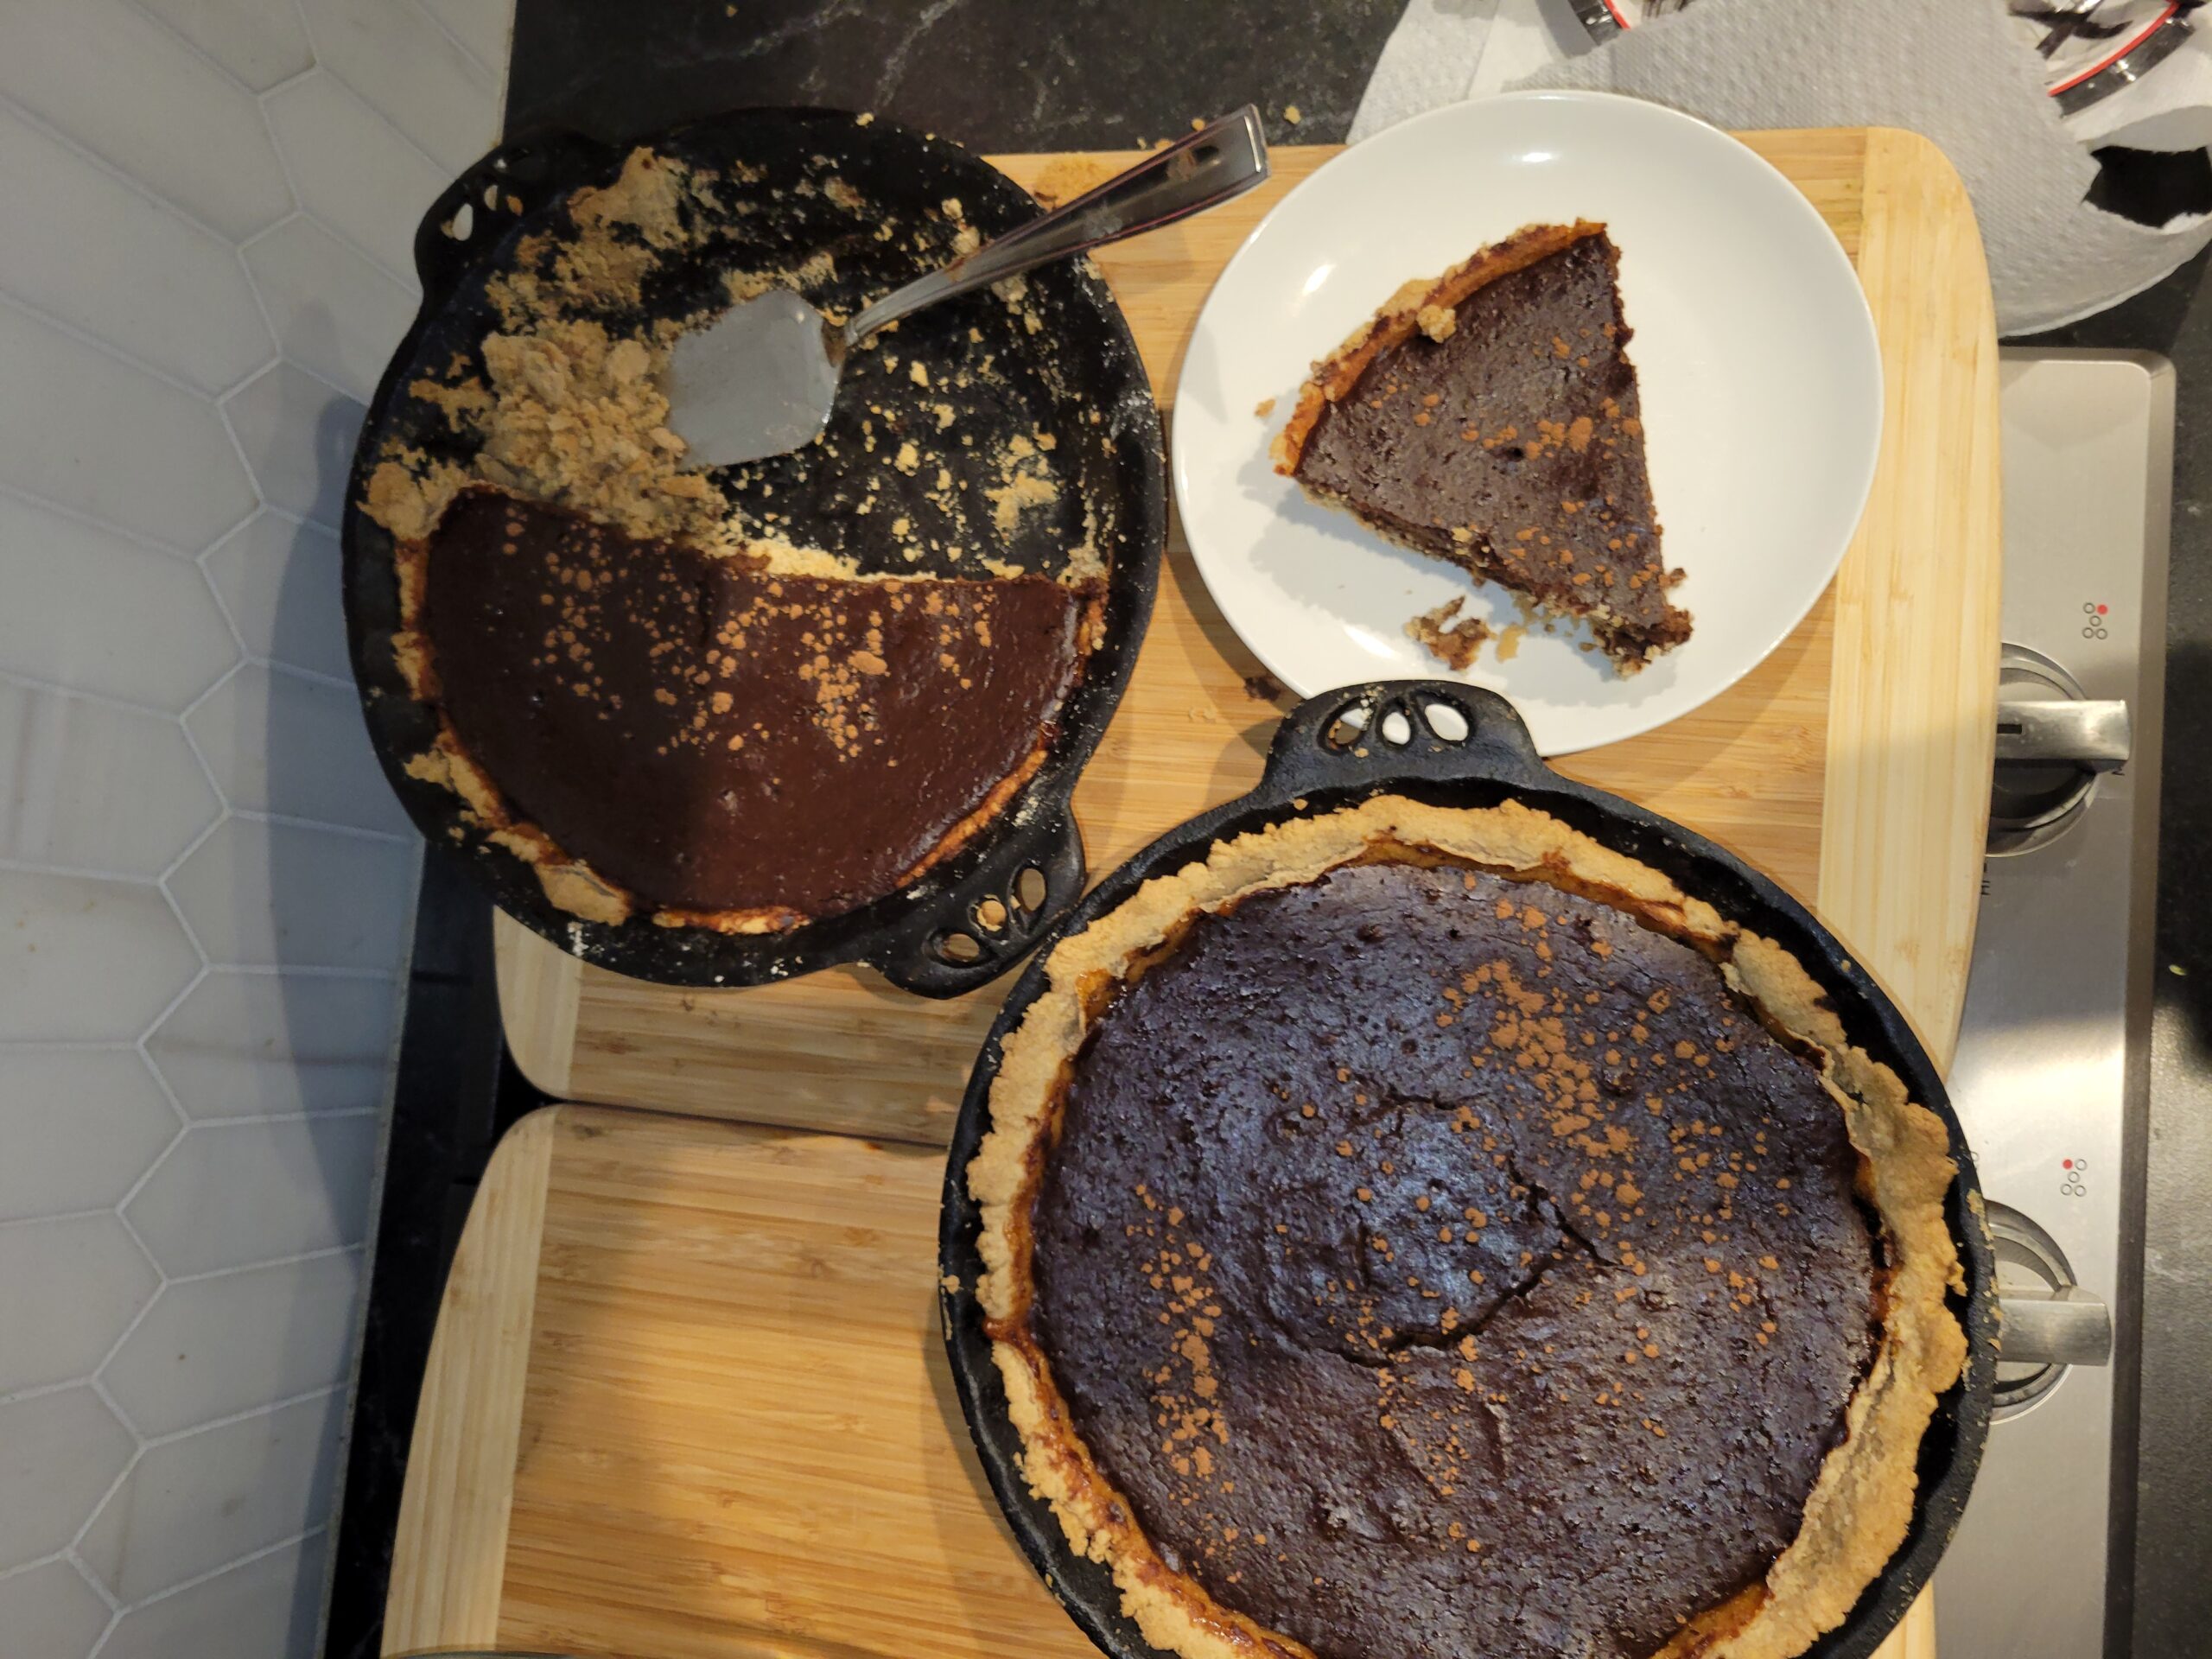
Gluten Free Chocolate Pumpkin Pie (makes 2 pies)
10/30/2023
Adventures In My Allergy Family Kitchen with Kimberlee Bethany Bonura @drkimberleebonura
Based on my Grandma’s Original Pumpkin Pie. She always made 2, because everyone wanted a second slice.
Modified because:
(1) one day, my kiddo #1 asked, “hey, can you make chocolate pumpkin pie Instead of just pumpkin?” I was hesitant, but it turns out that as good as pumpkin pie is, chocolate pumpkin pie is even better. I’ve never made a regular pumpkin pie again …
(2) for a gluten free crust.
(3) I haven’t figured out a vegan (i.e., egg free) pumpkin pie (or custard) yet, but when I do – I’ll share!
Ingredients needed:
For Pie Crust:
1 ½ cup oat flour
1 ½ cup rice flour
½ teaspoon salt
¾ cup sunflower oil
For Pie Filling
1 29-ounce can cooked pumpkin (not pumpkin pie mix, just plain cooked pumpkin) or 2 15- ounce cans
2 cups non-dairy milk
1 1/2 cups turbinado sugar
1/2 teaspoon ginger powder
1/2 teaspoon nutmeg powder
4 teaspoons cinnamon powder
¼ teaspoon salt
¾ cup cocoa powder
1 tablespoon vanilla extract
4 eggs
Preheat oven to 350˚F, convection preferred.
Make your pie crusts.
In a mixing bowl, put:
1 ½ cup oat flour
1 ½ cup rice flour
½ teaspoon salt
¾ cup sunflower oil
Using your (clean but unscented) hands, “crumb” the mixture together – play with the flour and oil until it comes together into a soft playdough like crumble.
Divide dough into two even portions.
Oil both of your pie pans, place one ball into the center of each pie pan.
Gently use the ball of your hand to press, press, press the dough out toward the edges of the pie pan, then use the balls of your fingers to press the dough up on the sides of the pie pan to the edges.
Gluten-free Nut-free pie dough doesn’t roll out well, so you have to shape it into the pan with your hands. (If you don’t have a nut-allergy, and you like a nutty taste, you can use coconut oil instead of sunflower oil, and then you can roll it like any traditional pie crust).
Make your pie filling.
In a mixing bowl, put:
1 29-ounce can cooked pumpkin (not pumpkin pie mix, just plain cooked pumpkin) or 2 15- ounce cans
2 cups non-dairy milk
1 1/2 cups turbinado sugar
1/2 teaspoon ginger powder
1/2 teaspoon nutmeg powder
4 teaspoons cinnamon powder
¼ teaspoon salt
¾ cup cocoa powder
1 tablespoon vanilla extract
4 eggs
Gently whisk until mostly smooth, but don’t over-whip or it will be too thin. It should look like soft pudding.
Pour filling evenly into each pie crust, so that the filling is almost to the top of each pie crust.
Lightly sprinkle 1/2 teaspoon cinnamon powder evenly on top of each pie.
Bake for 1 hour 15 minutes.
The top of the pie filling will be firm and just starting to crack when done.
Let cool at room temperature at least 30 minutes before slicing (or the custard will fall apart).
To store, cover with aluminum foil and keep in refrigerator.
ALLERGY STATEMENT:
Milk/Dairy Free, Tree Nut Free, Fish Free, Crustacean Shellfish Free, Peanut Free, Soy Free, and Sesame Free
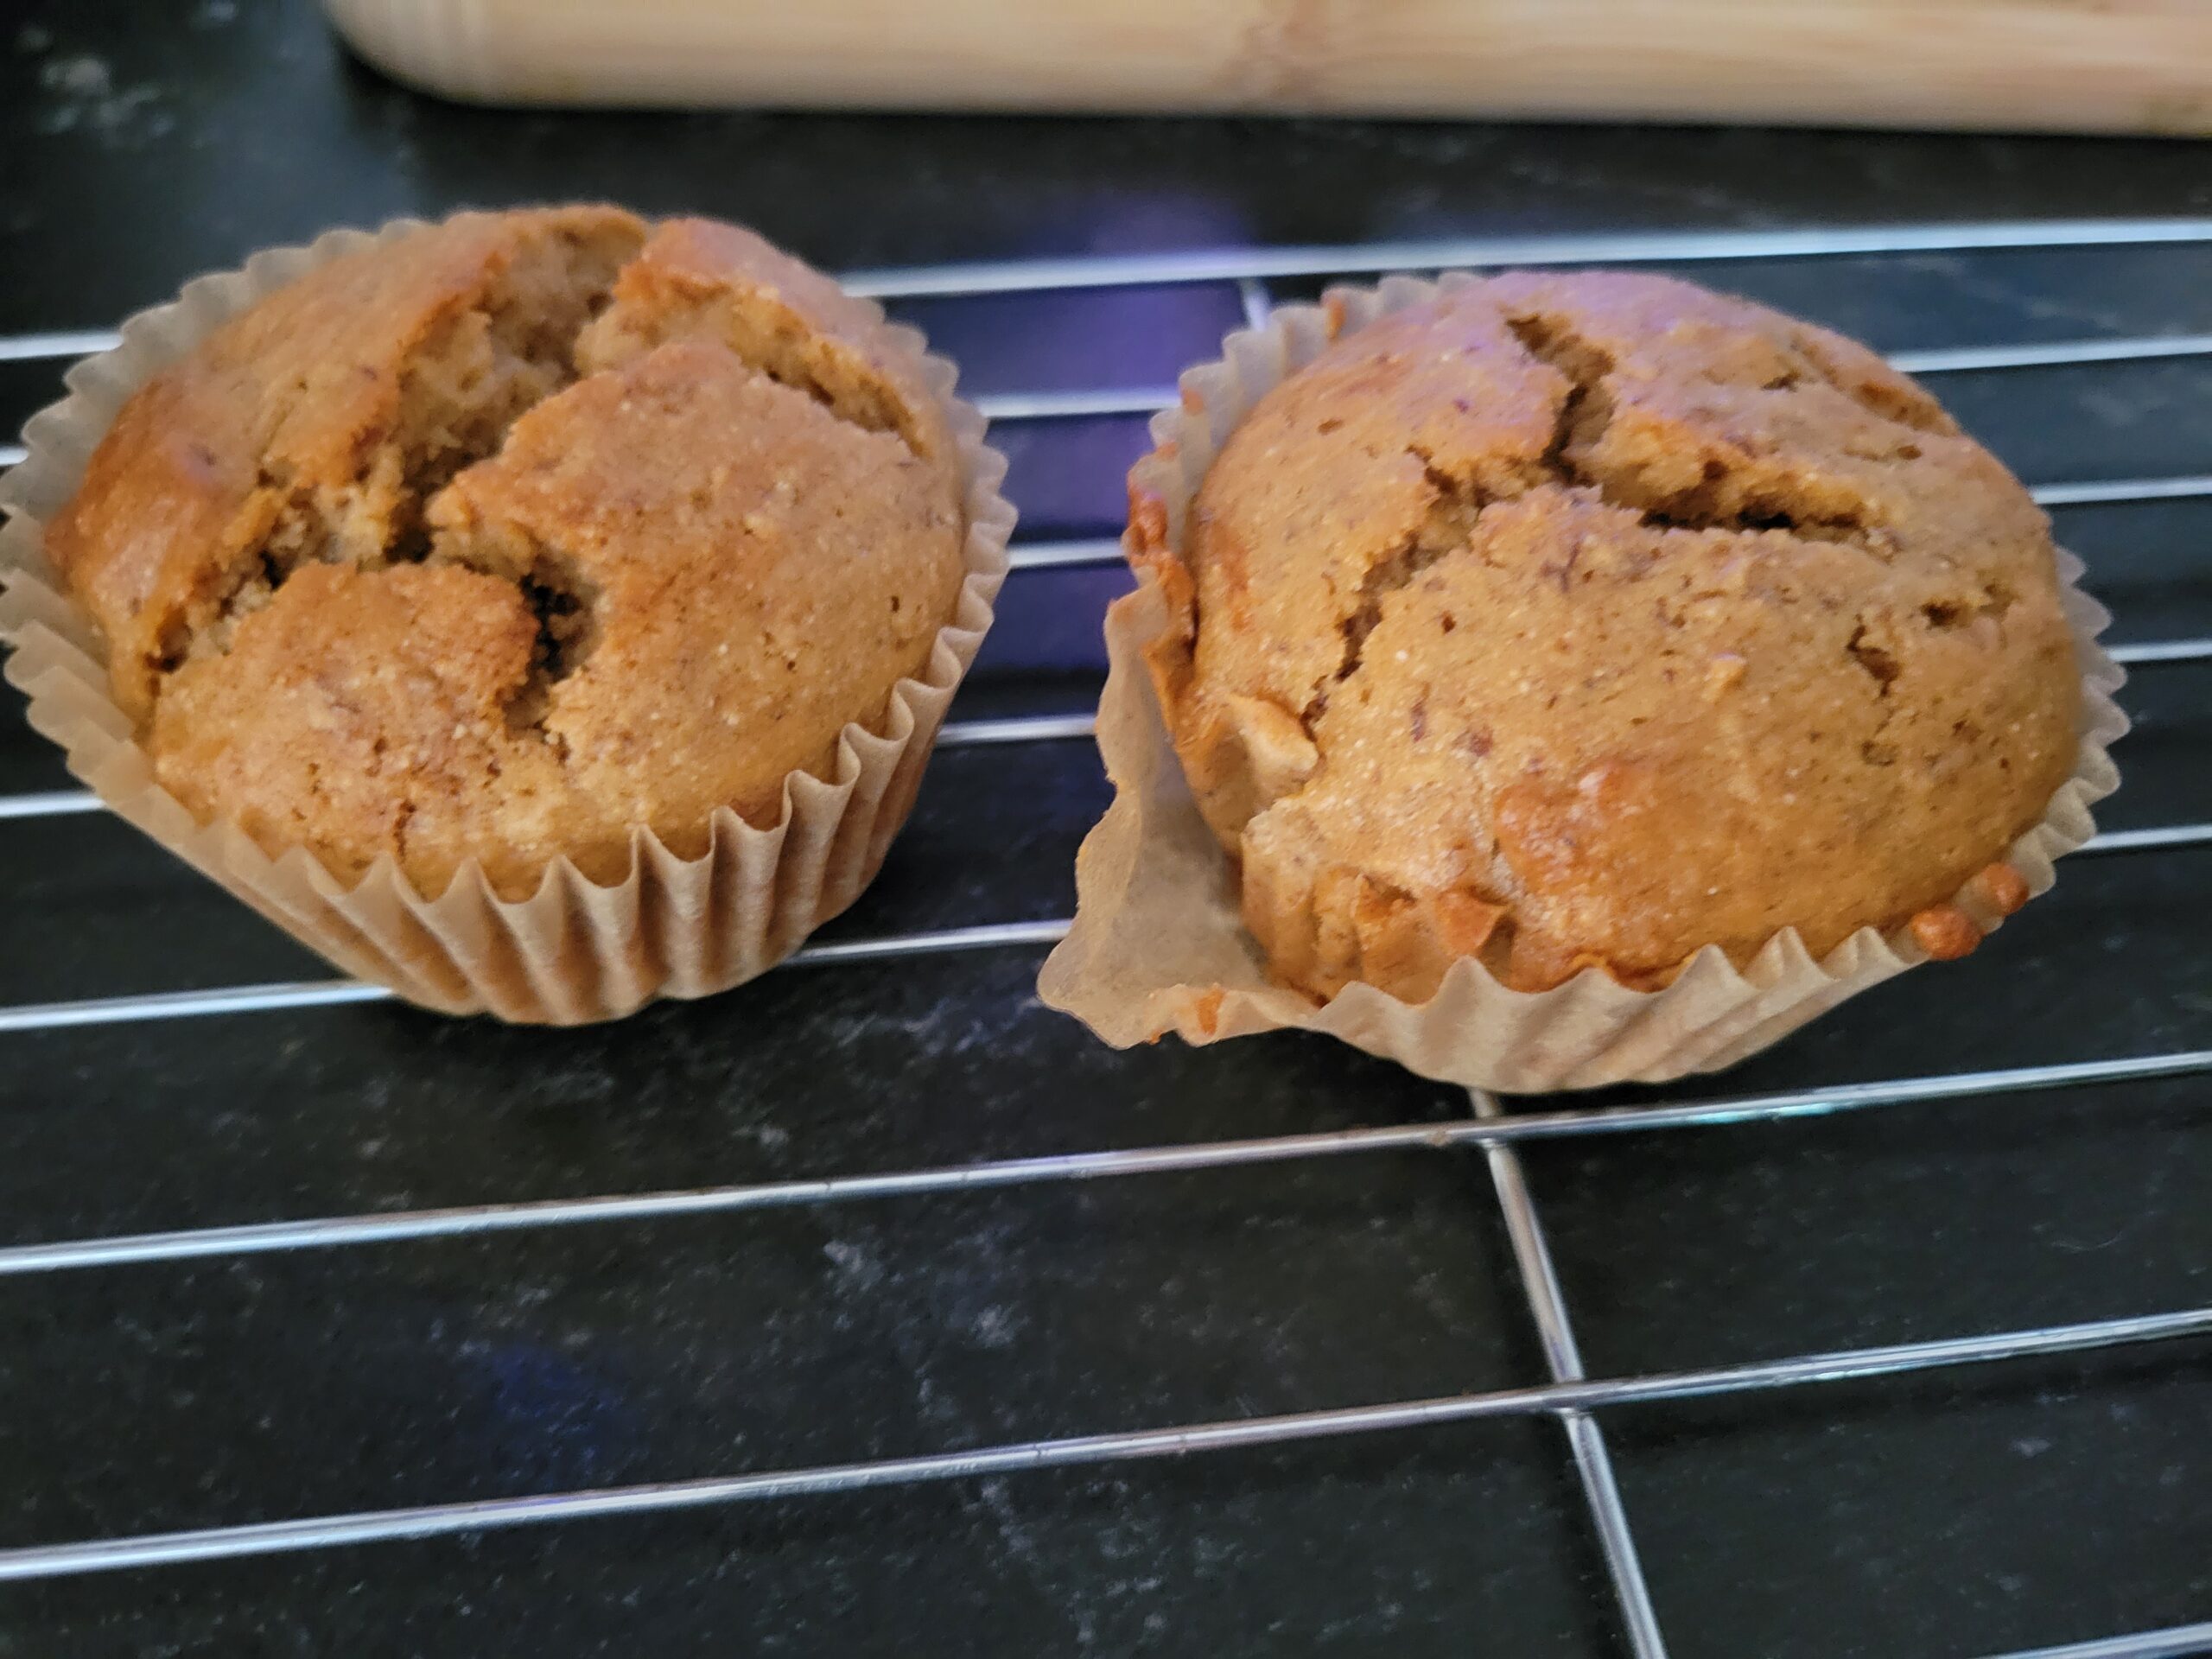
Banana Bread! Or Muffins! For breakfast, lunch, dinner, snacks! YUM!
2 options so you can feed everyone you love. First a vegan with wheat, and below that a Vegan AND gluten-free.
Vegan Banana Bread
10/3/2023
Makes 1 loaf or 18 muffins.
Preheat oven to 350˚F. Convection preferred.
Puree 3 ripe bananas in blender or food processor.
In a small bowl, make your flax eggs:
2 tablespoons ground flax meal
¼ cup warm (not hot) water
Let it sit for 5 minutes.
Then whisk with a fork.
In the bowl of your mixer (or a large mixing bowl):
1 cup brown sugar
Flax eggs
¼ cup olive oil
1 tablespoon vanilla
3 tablespoons unsweetened rice milk
Mix until smooth and creamy.
Add to mixer:
2 ¼ cup white whole wheat flour
1 tsp. baking powder
½ tsp. baking soda
Mix.
Add banana puree.
Mix well.
For bread: pour into 1 oiled bread pan.
For muffins: pour into muffin cups. I like parchment paper cups in a silicone muffin pan.
Bake for 1 hour. Time may vary slightly depending on weather and humidity. Use a toothpick to test if done – toothpick will come out clean when done.
ALLERGY STATEMENT:
Milk/Dairy Free, Egg-Free (VEGAN), Tree Nut Free, Fish Free, Crustacean Shellfish Free, Peanut Free, Soy Free, and Sesame Free
Vegan and Gluten Free Banana Bread
10/3/2023
Makes 1 loaf or 18 muffins.
Preheat oven to 350˚F. Convection preferred.
Puree 3 ripe bananas in blender or food processor.
In a small bowl, make your flax eggs:
2 tablespoons ground flax meal
¼ cup warm (not hot) water
Let it sit for 5 minutes.
Then whisk with a fork.
In the bowl of your mixer (or a large mixing bowl):
1 cup brown sugar
Flax eggs
¼ cup olive oil
1 tablespoon vanilla
3 tablespoons unsweetened rice milk
Mix until smooth and creamy.
Add to mixer:
1 cup brown rice flour
1 cup sorghum flour
¼ cup oat flour
1 tsp. xanthan gum
1 tsp. baking powder
½ tsp. baking soda
Mix.
Add banana puree.
Mix well.
For bread: pour into 1 oiled bread pan.
For muffins: pour into muffin cups. I like parchment paper cups in a silicone muffin pan.
Bake for 1 hour. Time may vary slightly depending on weather and humidity. Use a toothpick to test if done – toothpick will come out clean when done.
ALLERGY STATEMENT:
Gluten-Free, Milk/Dairy Free, Egg-Free (VEGAN), Tree Nut Free, Fish Free, Crustacean Shellfish Free, Peanut Free, Soy Free, and Sesame Free
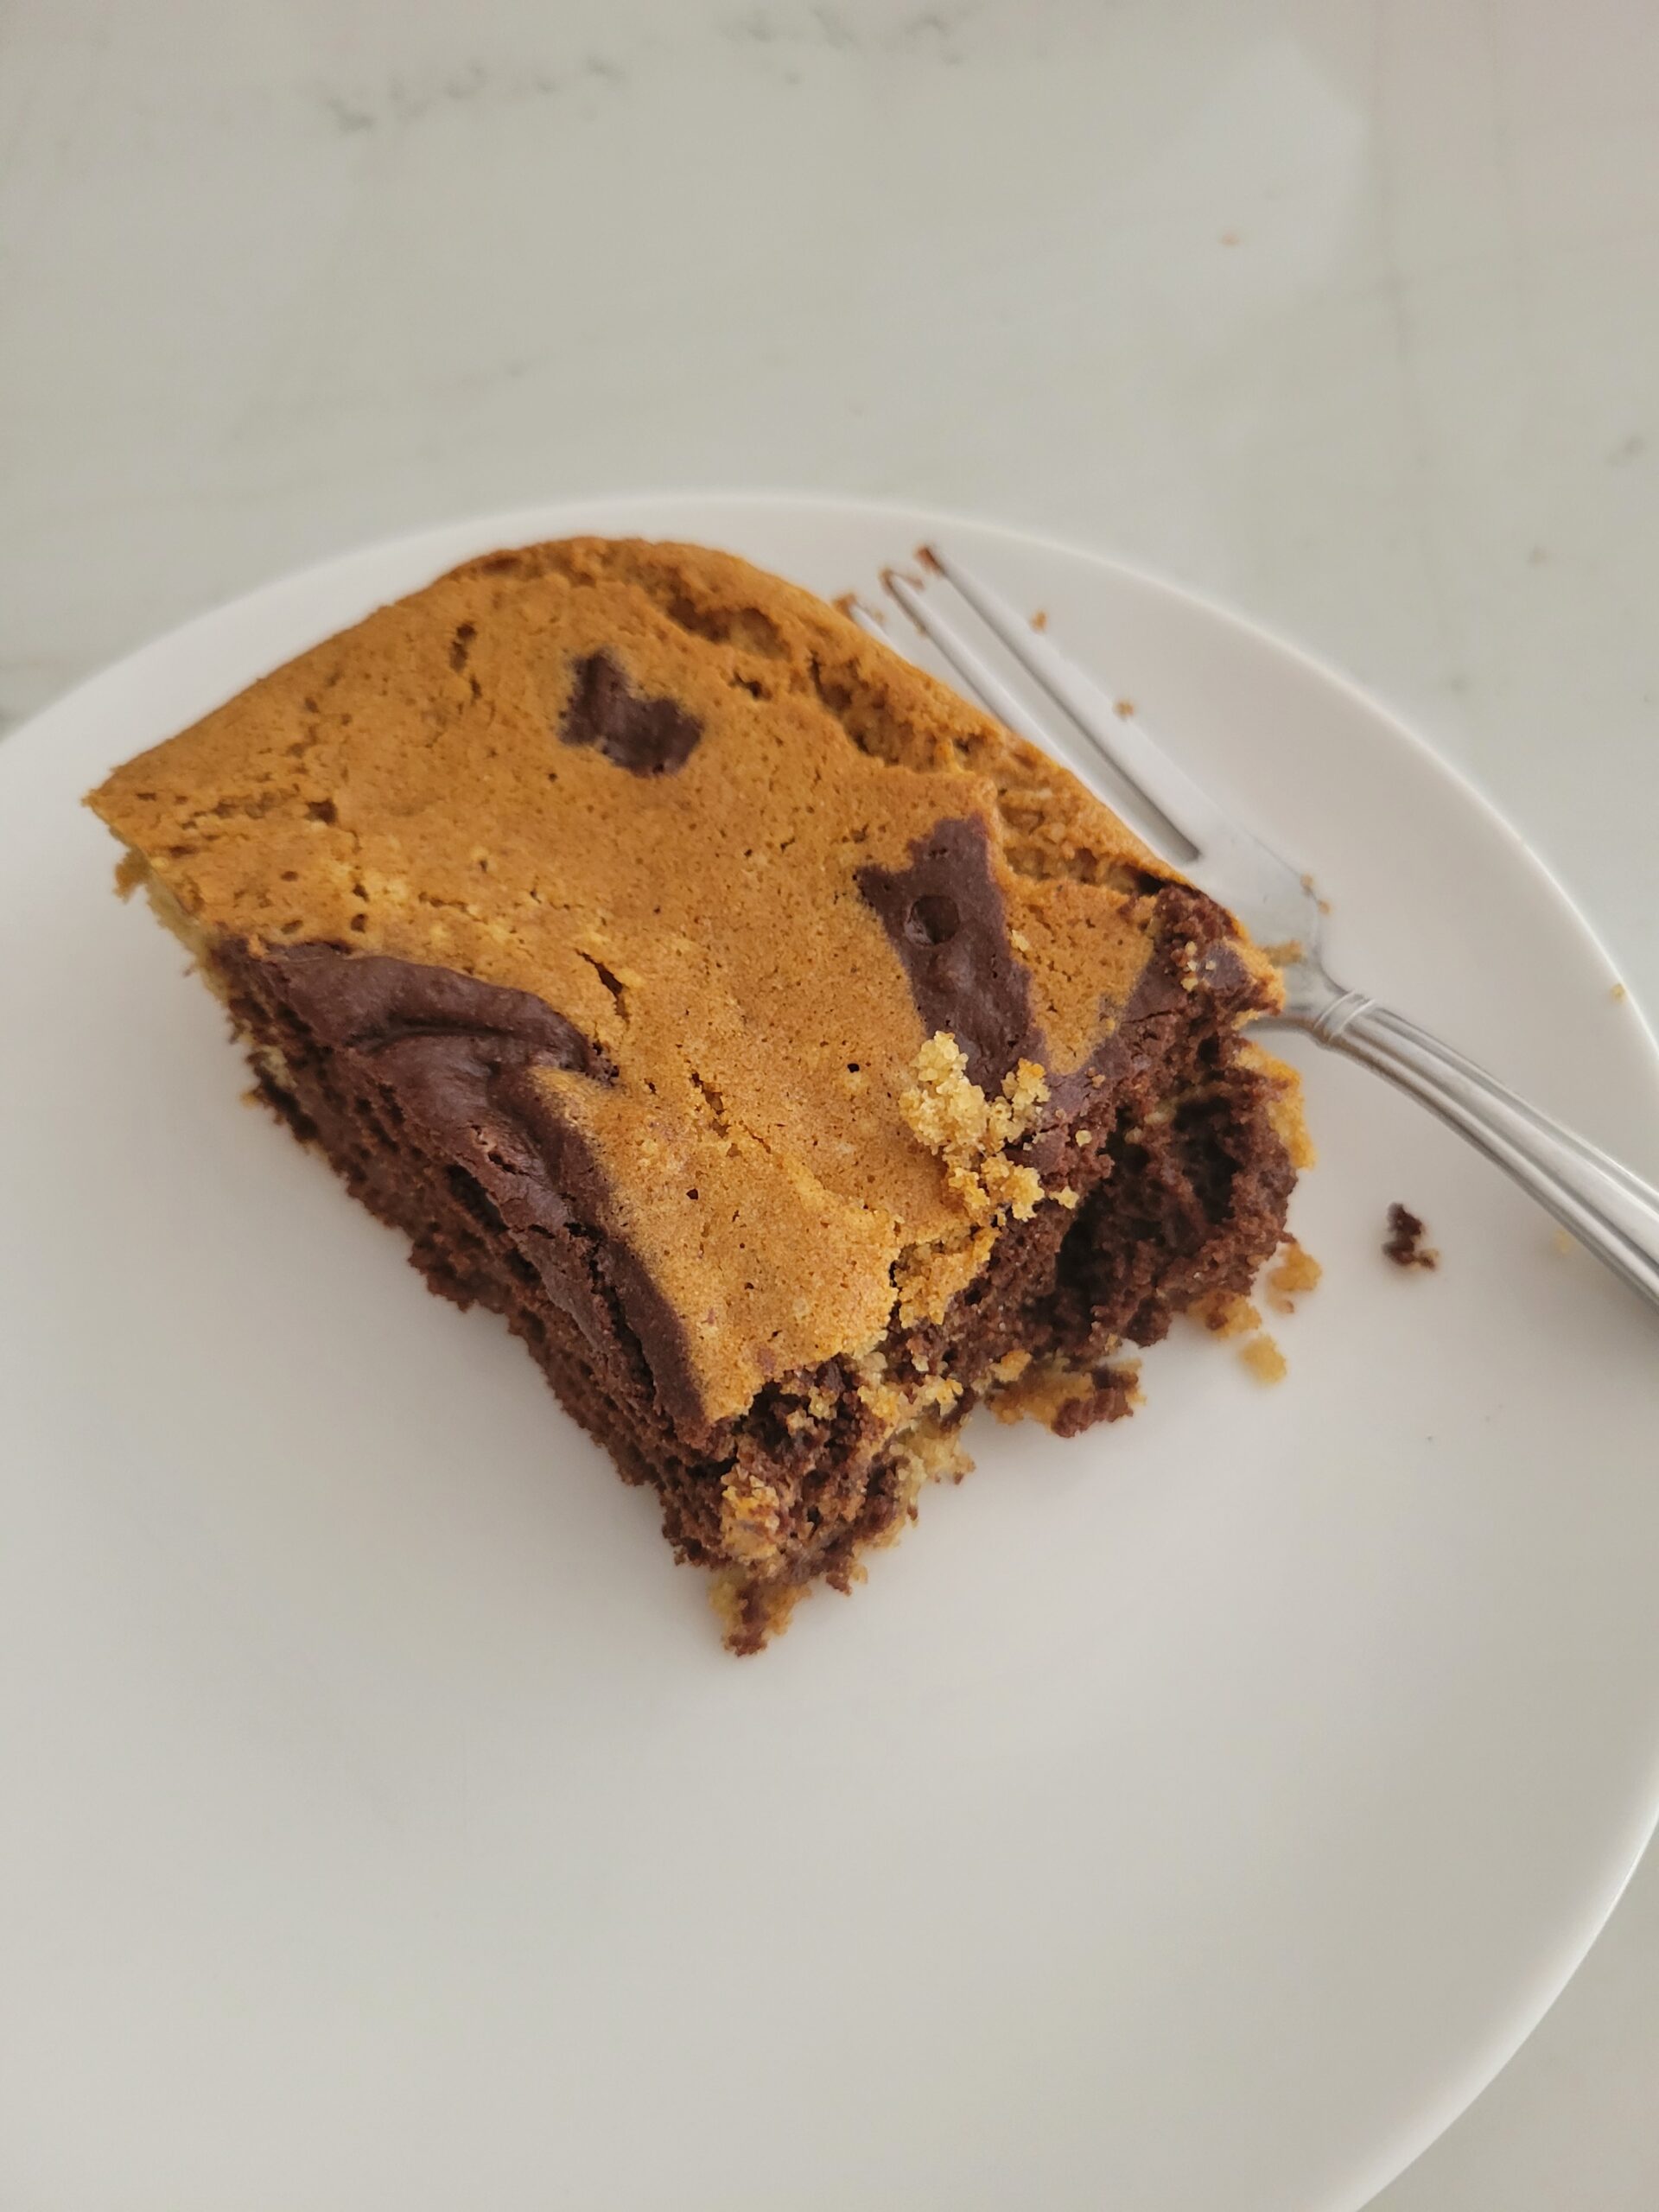
Gluten-Free, Vegan Swirl Cake
Chocolate cake? Vanilla cake? Why choose! And this is a gluten-free, vegan option so everyone can enjoy!
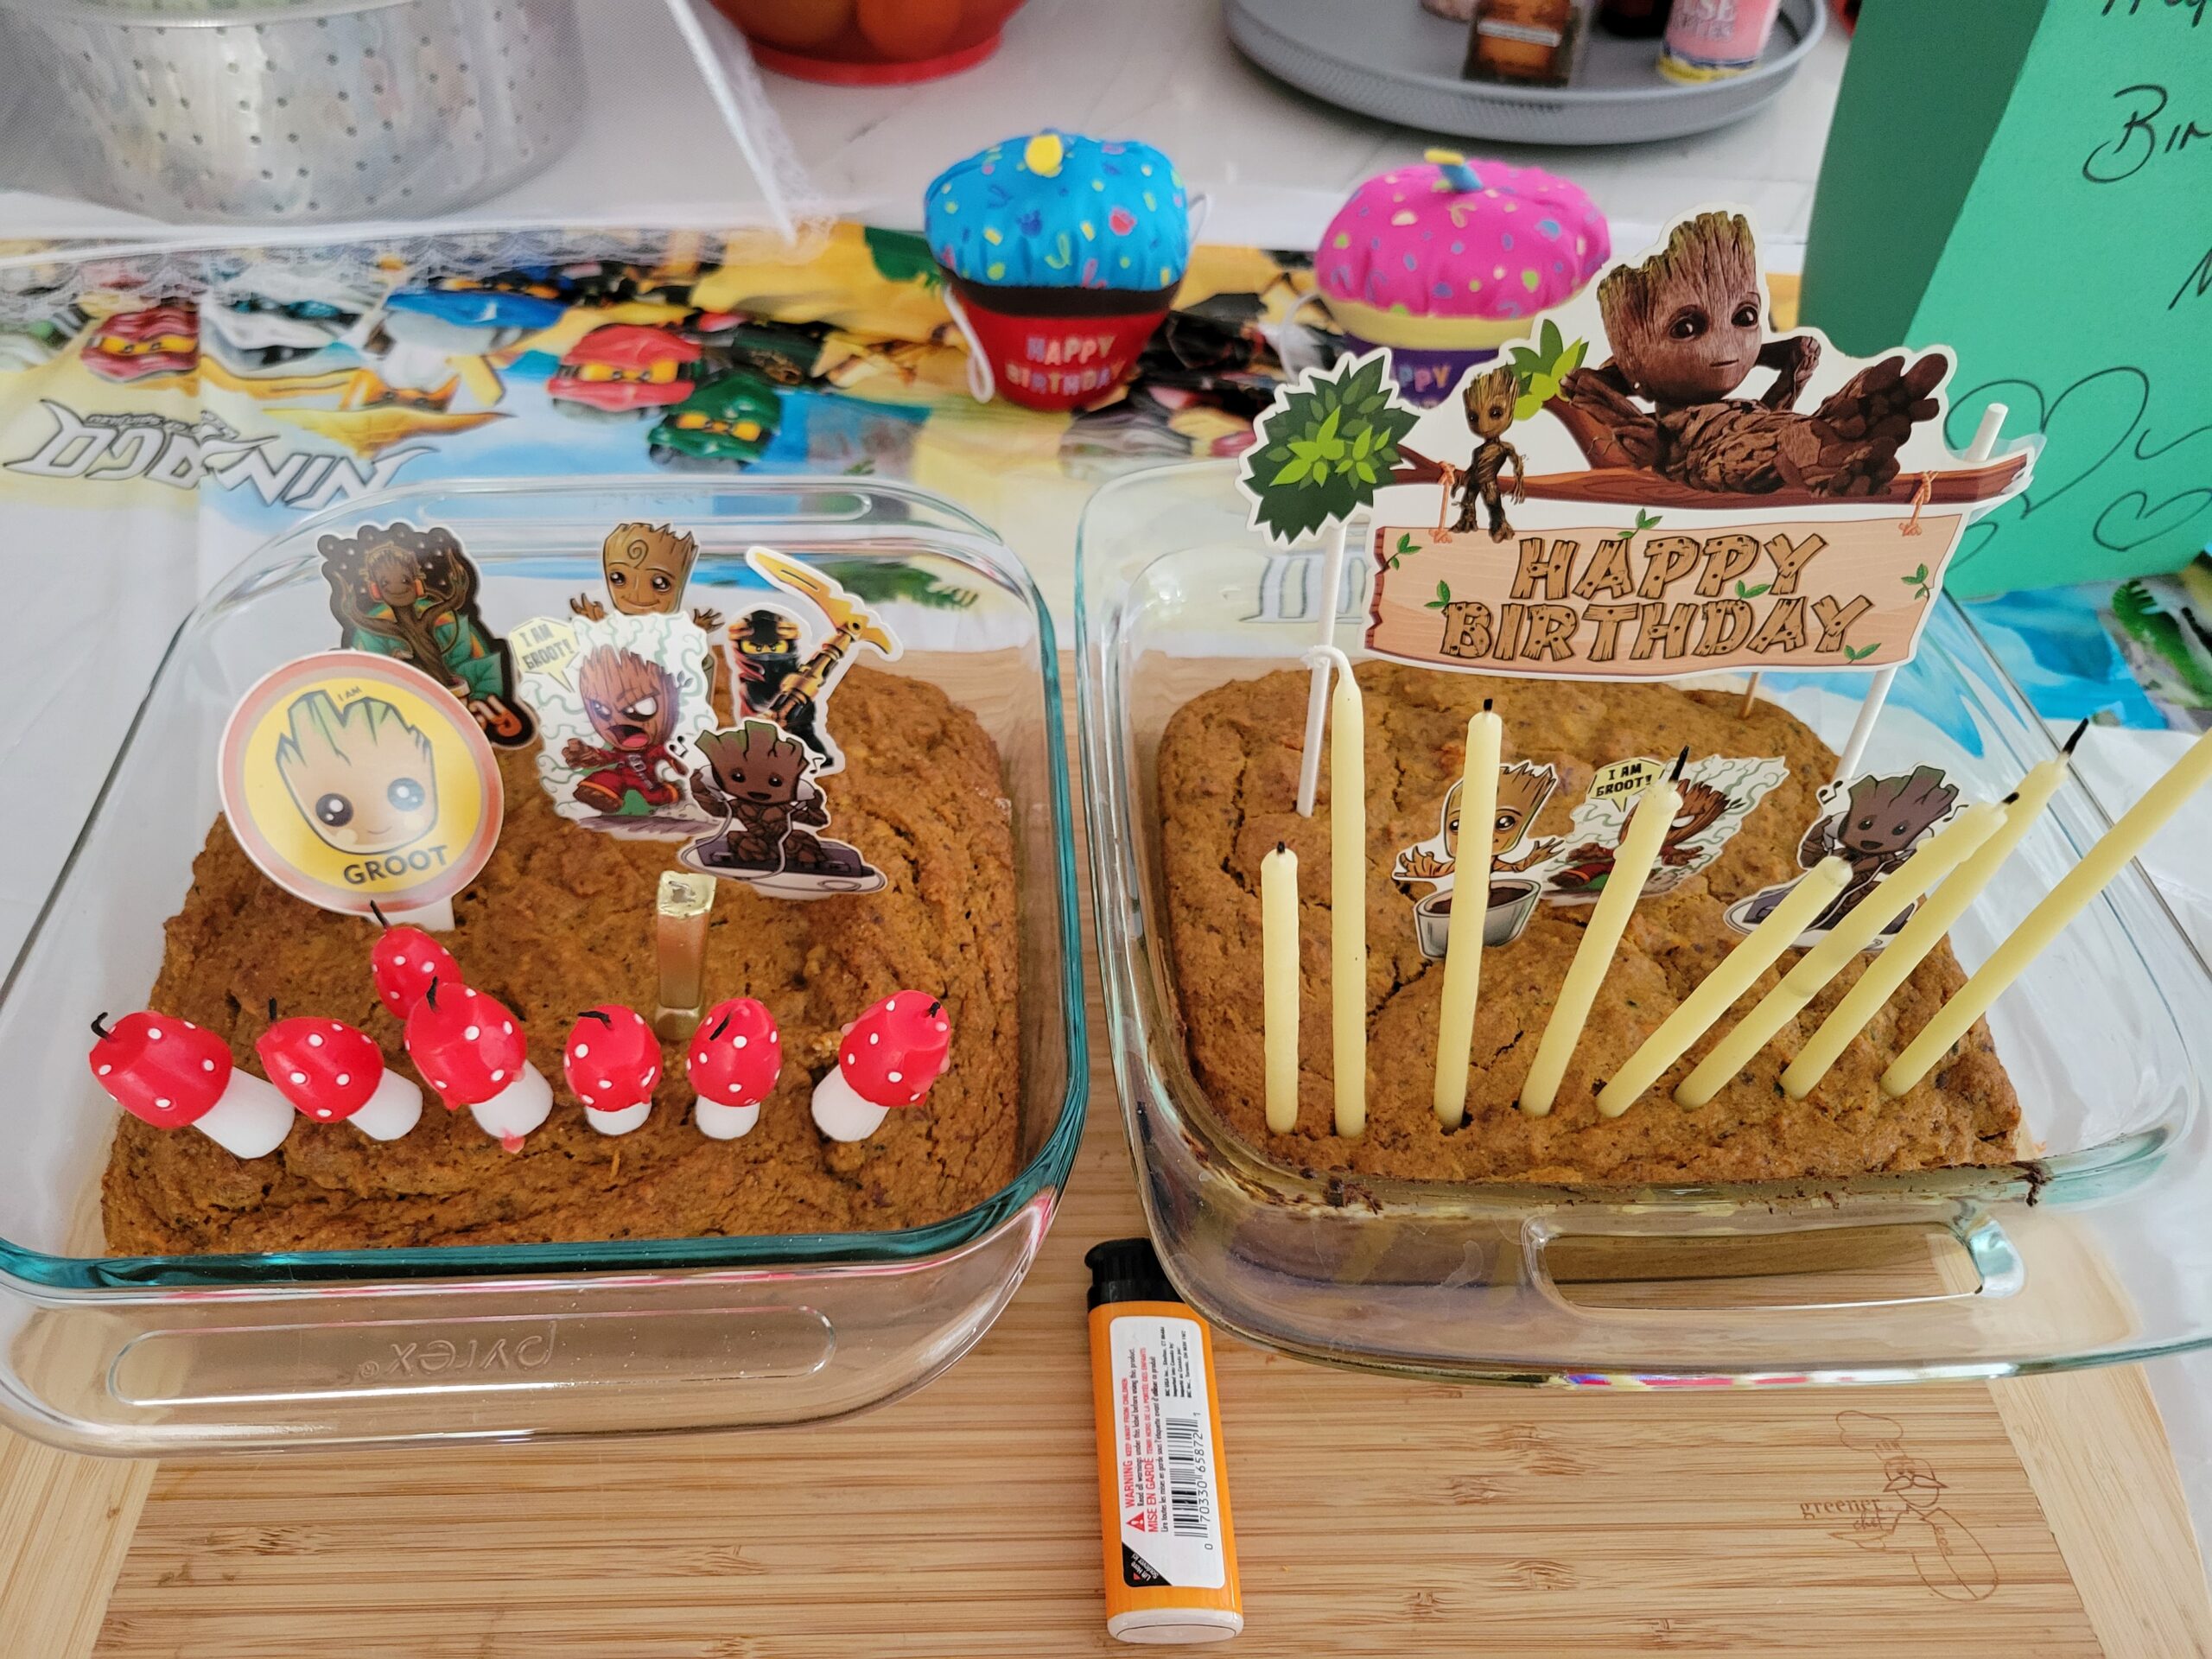
In the picture: a traditional swirl cake – see “My Kids’ Favorite Swirl Cake” for the recipe AND a GF, Vegan Swirl Cake. Can you even tell which is which?
September 23, 2023
Preheat oven to 350 degrees (convection preferred if possible).
Set up two stainless steel bowls.
Bowl one:
Mix:
Whisk until smooth.
Add:
Mix until smooth.
Pour into the bottom of a 9 x 12 baking pan.
Bowl two:
Mix:
Whisk until smooth.
Add:
Mix until smooth.
Starting over the center of the baking pan, carefully pour the batter in on top of the vanilla batter, forming swirls as you pour.
Use your silicone spatula to make one or two swirls through the batter, just briefly – you do not want to mix the two batters into one, just create a swirl design so they retain their individual flavors.
Place on middle rack of oven, back 45 minutes.
Let cool 10 minutes prior to cutting.
ALLERGY STATEMENT:
Gluten-Free, Milk/Dairy Free, Egg-Free (VEGAN), Tree Nut Free, Fish Free, Crustacean Shellfish Free, Peanut Free, Soy Free, and Sesame Free
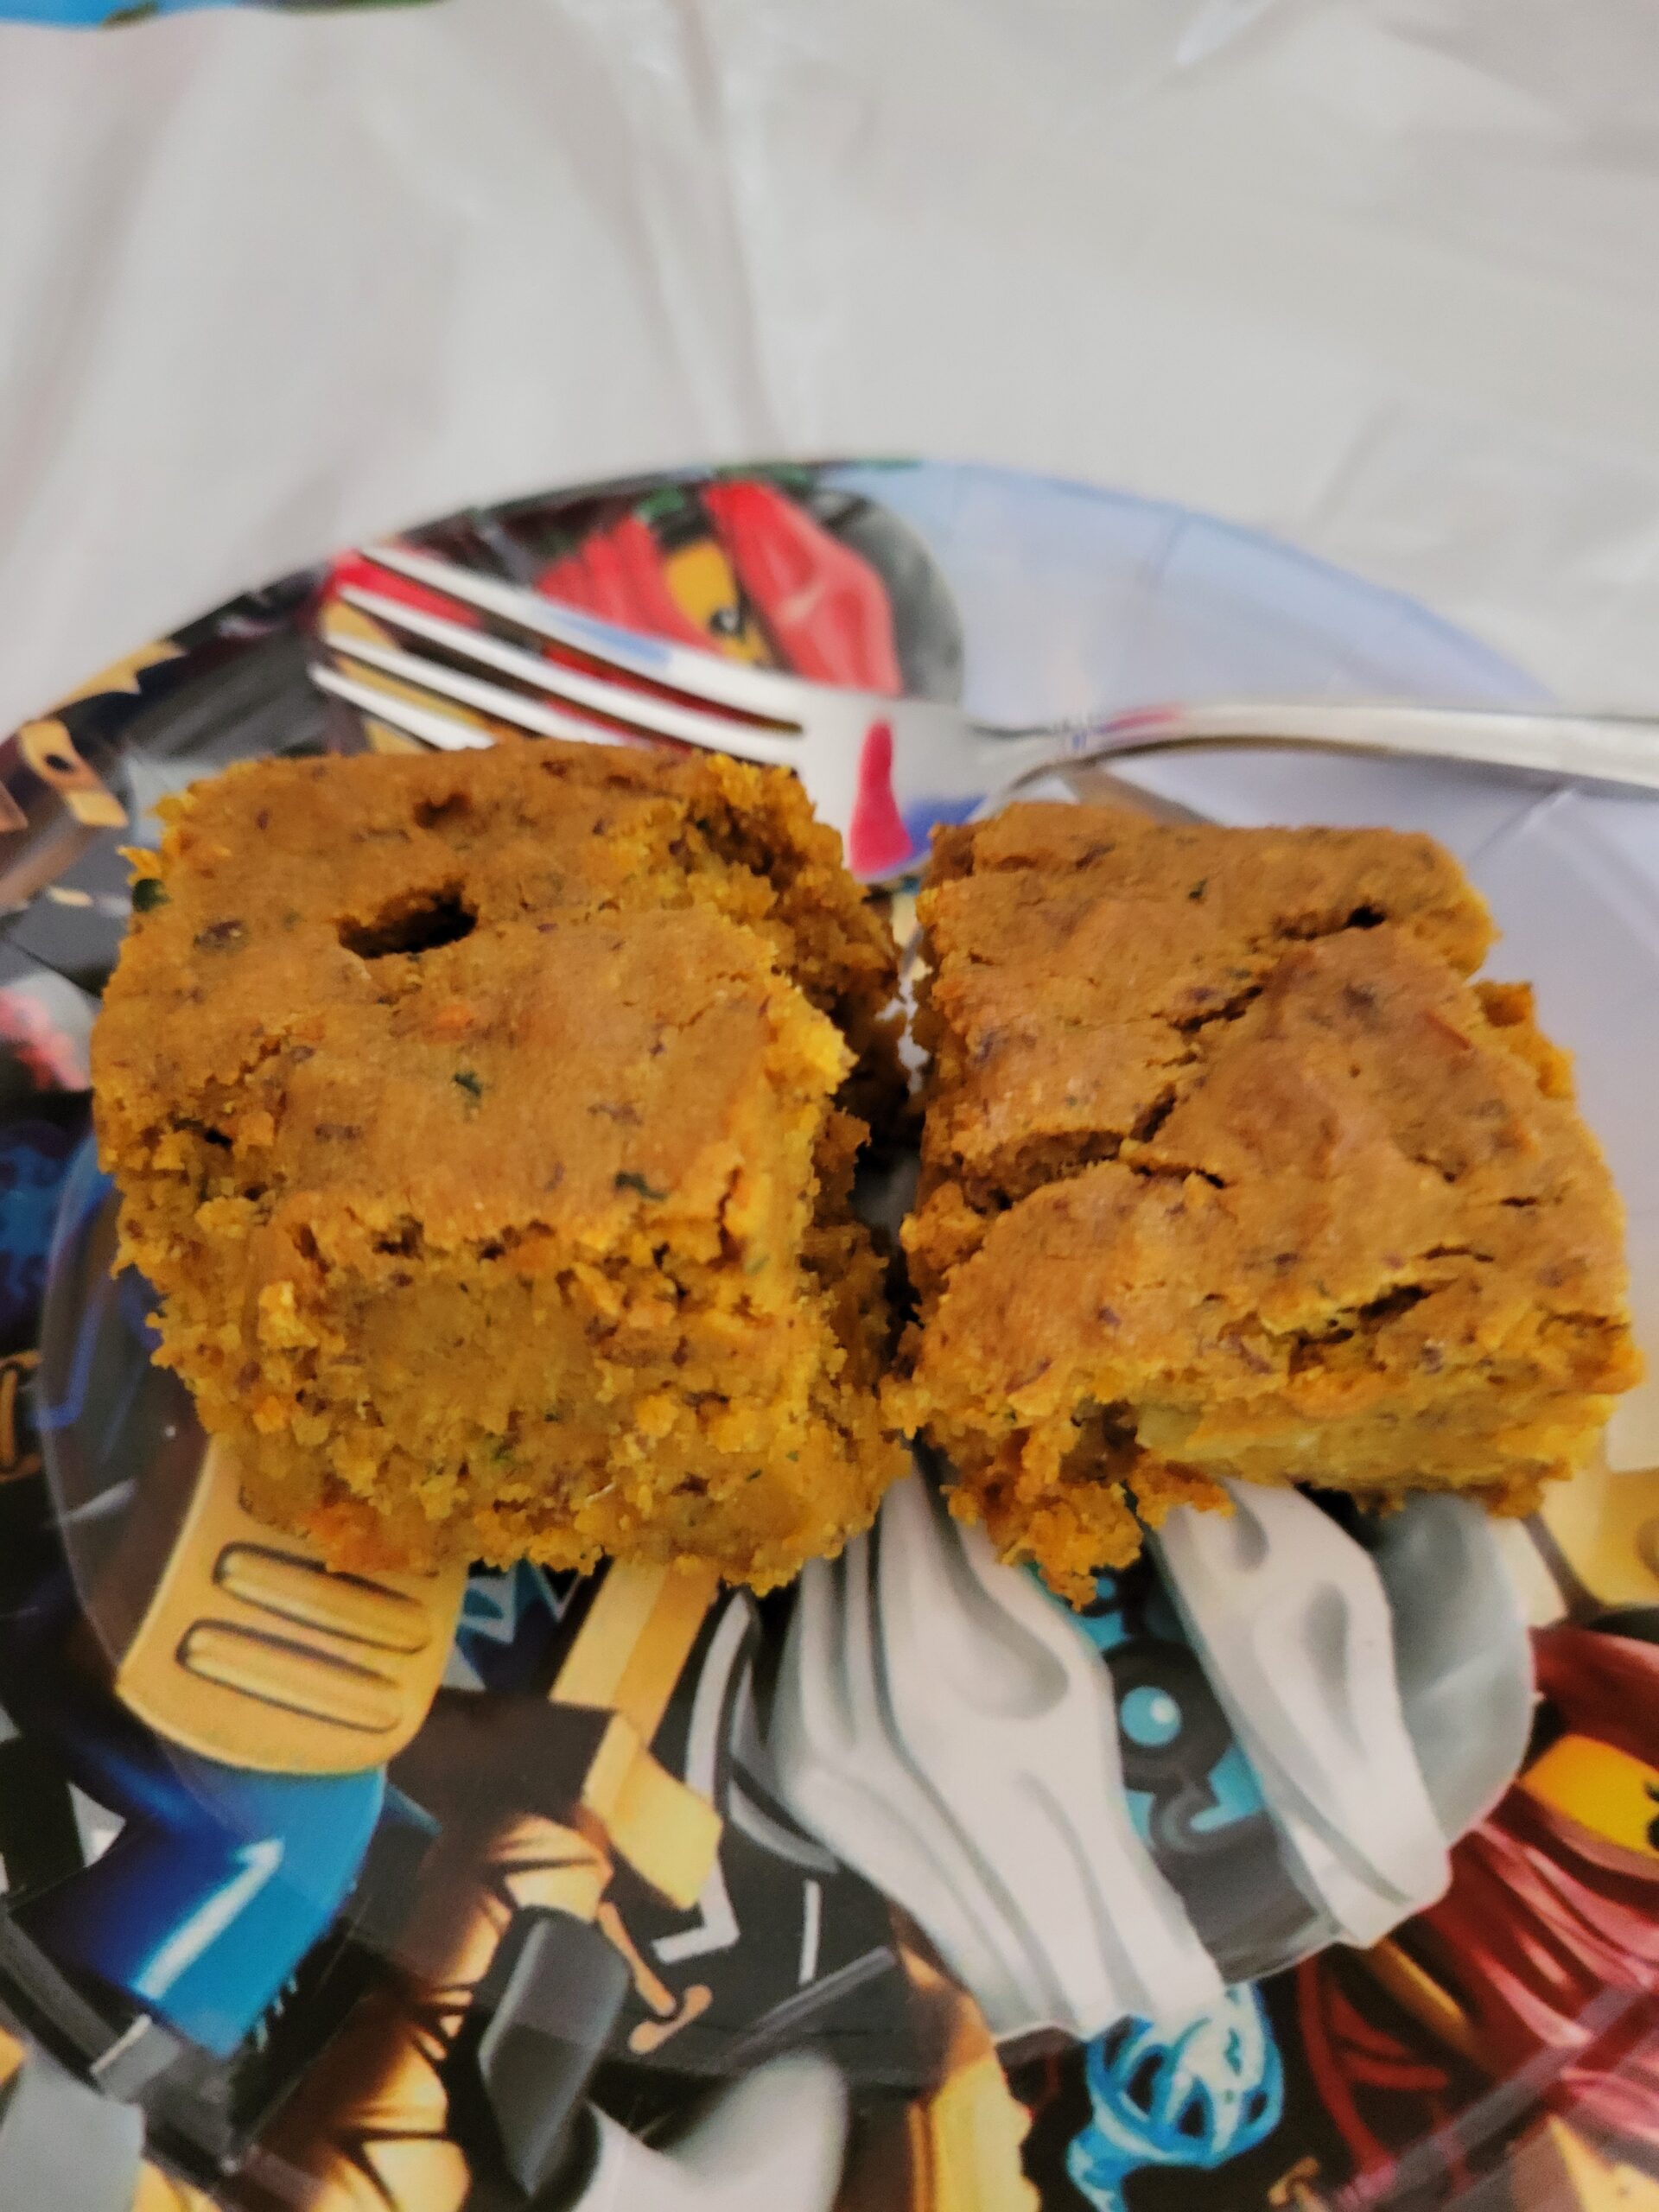
Gluten-Free, Vegan Carrot Cake (Carrot and Zucchini Cake Option)
September 24, 2023
Preheat oven to 350 degrees (convection preferred if possible).
In a food processor, grate 8 large fresh carrots. OR: 6 large carrots and 2 medium zucchinis
In a small bowl, make your flax eggs:
Set up your stand mixer with a stainless-steel bowl.
Add wet ingredients to mixing bowl:
Mix lightly.
Add dry ingredients to bowl:
Mix until smooth.
Add the carrots (or carrots/zucchini mix), mix another minute or so for even carrot distribution.
Pour into the bottom of a 9 x 12 baking pan.
Place on middle rack of oven, back 50 minutes.
Let cool 10 minutes prior to cutting.
ALLERGY STATEMENT:
Gluten-Free, Milk/Dairy Free, Egg-Free (VEGAN), Tree Nut Free, Fish Free, Crustacean Shellfish Free, Peanut Free, Soy Free, and Sesame Free
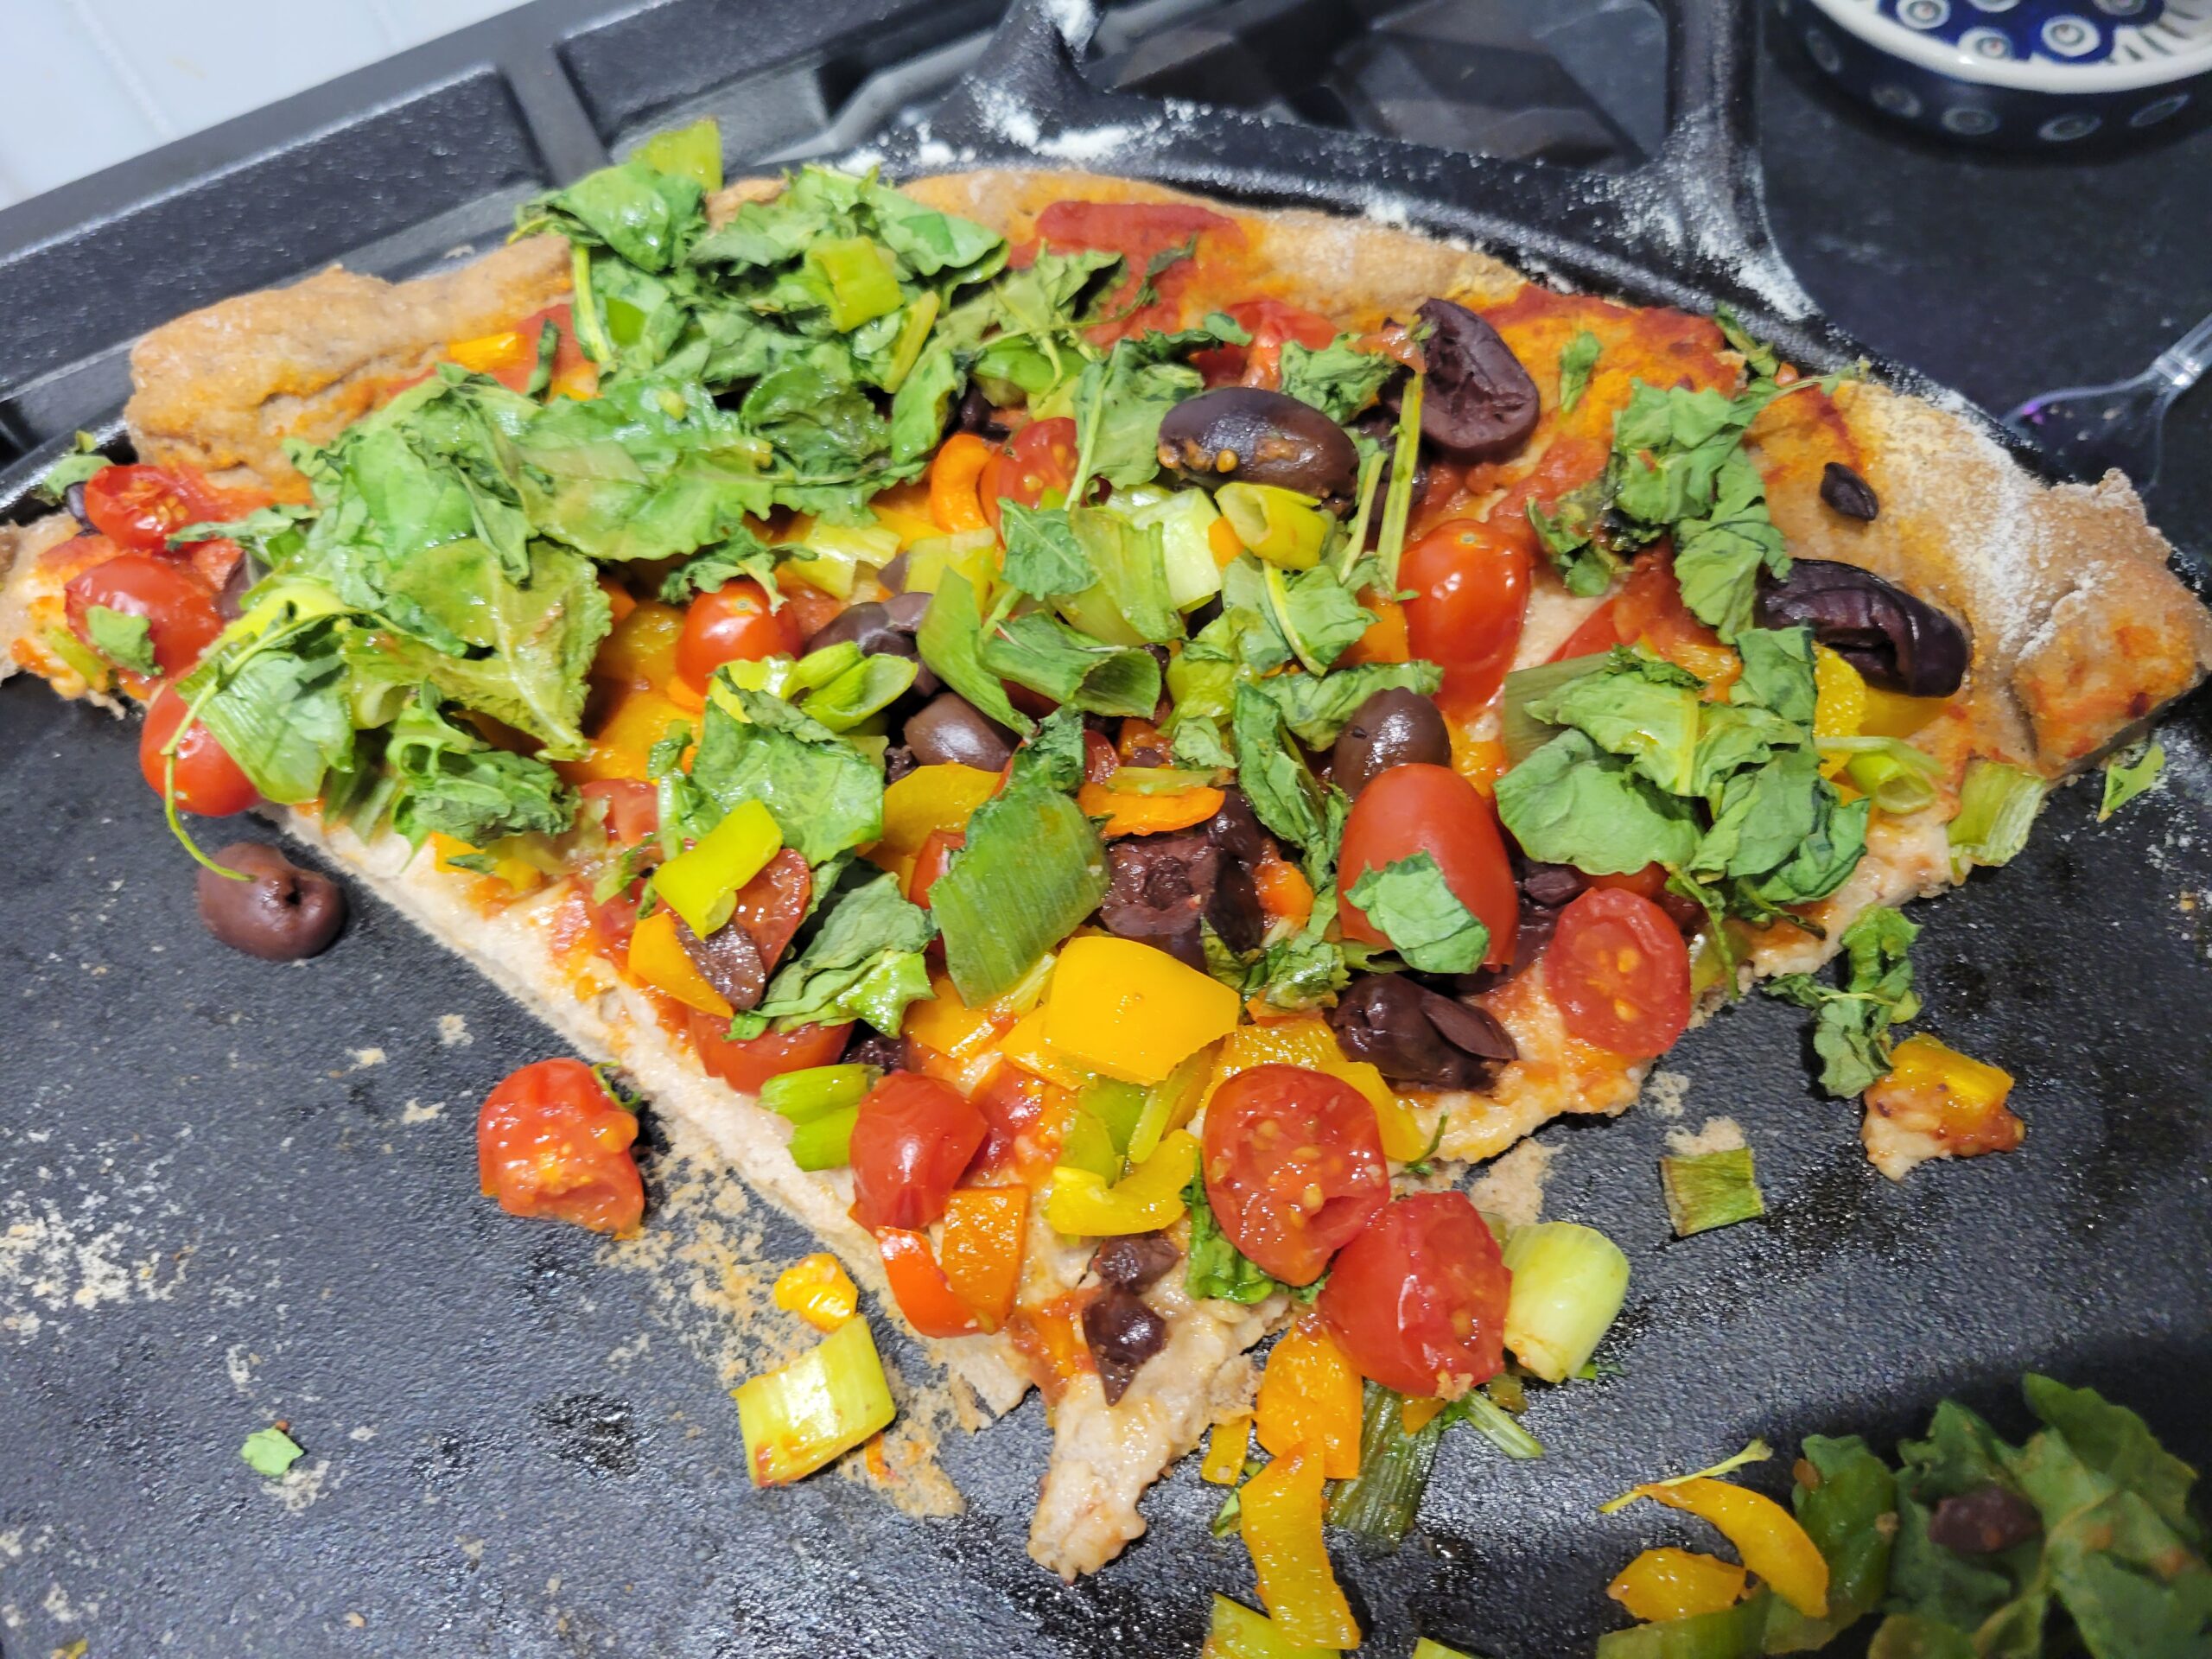
Vegan and Gluten Free Pizza Crust (makes 3-4 pizzas)
September 26, 2023
This is the same dough as Vegan and Gluten-Free Multi-Grain bread, just worked differently to make pizza crusts.
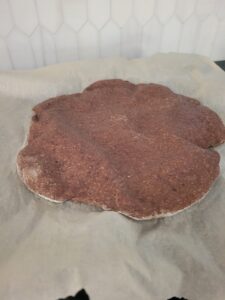
In a bowl, make your flax eggs:
Place dry ingredients in a stainless-steel mixing bowl:
Mix lightly on low speed.
Add wet ingredients to the mixer:
Mix until blended, it will be sticky and thick.
Oil 3 – 4 cast iron pizza pans (depending on size), then sprinkle a few tablespoons of millet flour on each.
Have ½ cup millet flour handy for working.
Divide the dough into rough balls and place it in the center of each of your pans.
Sprinkle a little millet flour on top of each dough ball.
One at a time, place a sheet of parchment paper (the size of your pan) on top of the dough ball. Use a rolling pin to roll the dough ball out into a circle, rolling from the center out toward the edges of the pan. As the dough ball rolls out, you may need to lift the parchment paper and sprinkle a little more millet flour to keep the dough workable. As you roll, create a small thicker crust edge around the edge of the pan.
Repeat for the remaining crusts.
Preheat oven to 350 degrees (convection preferred if possible).
Cover with a clean cloth, place in a warm place away from drafts, let rise for 20 minutes.
Add your desired toppings. (Or, bake plain to freeze for later).
Bake 30 minutes.
Remove from oven, let sit in a warm place away from drafts for 5 minutes.
Cut into slices with kitchen scissors and enjoy.
ALLERGY STATEMENT:
Gluten Free, Milk/Dairy Free, Egg Free (VEGAN), Tree Nut Free, Fish Free, Crustacean Shellfish Free, Peanut Free, Soy Free, and Sesame Free
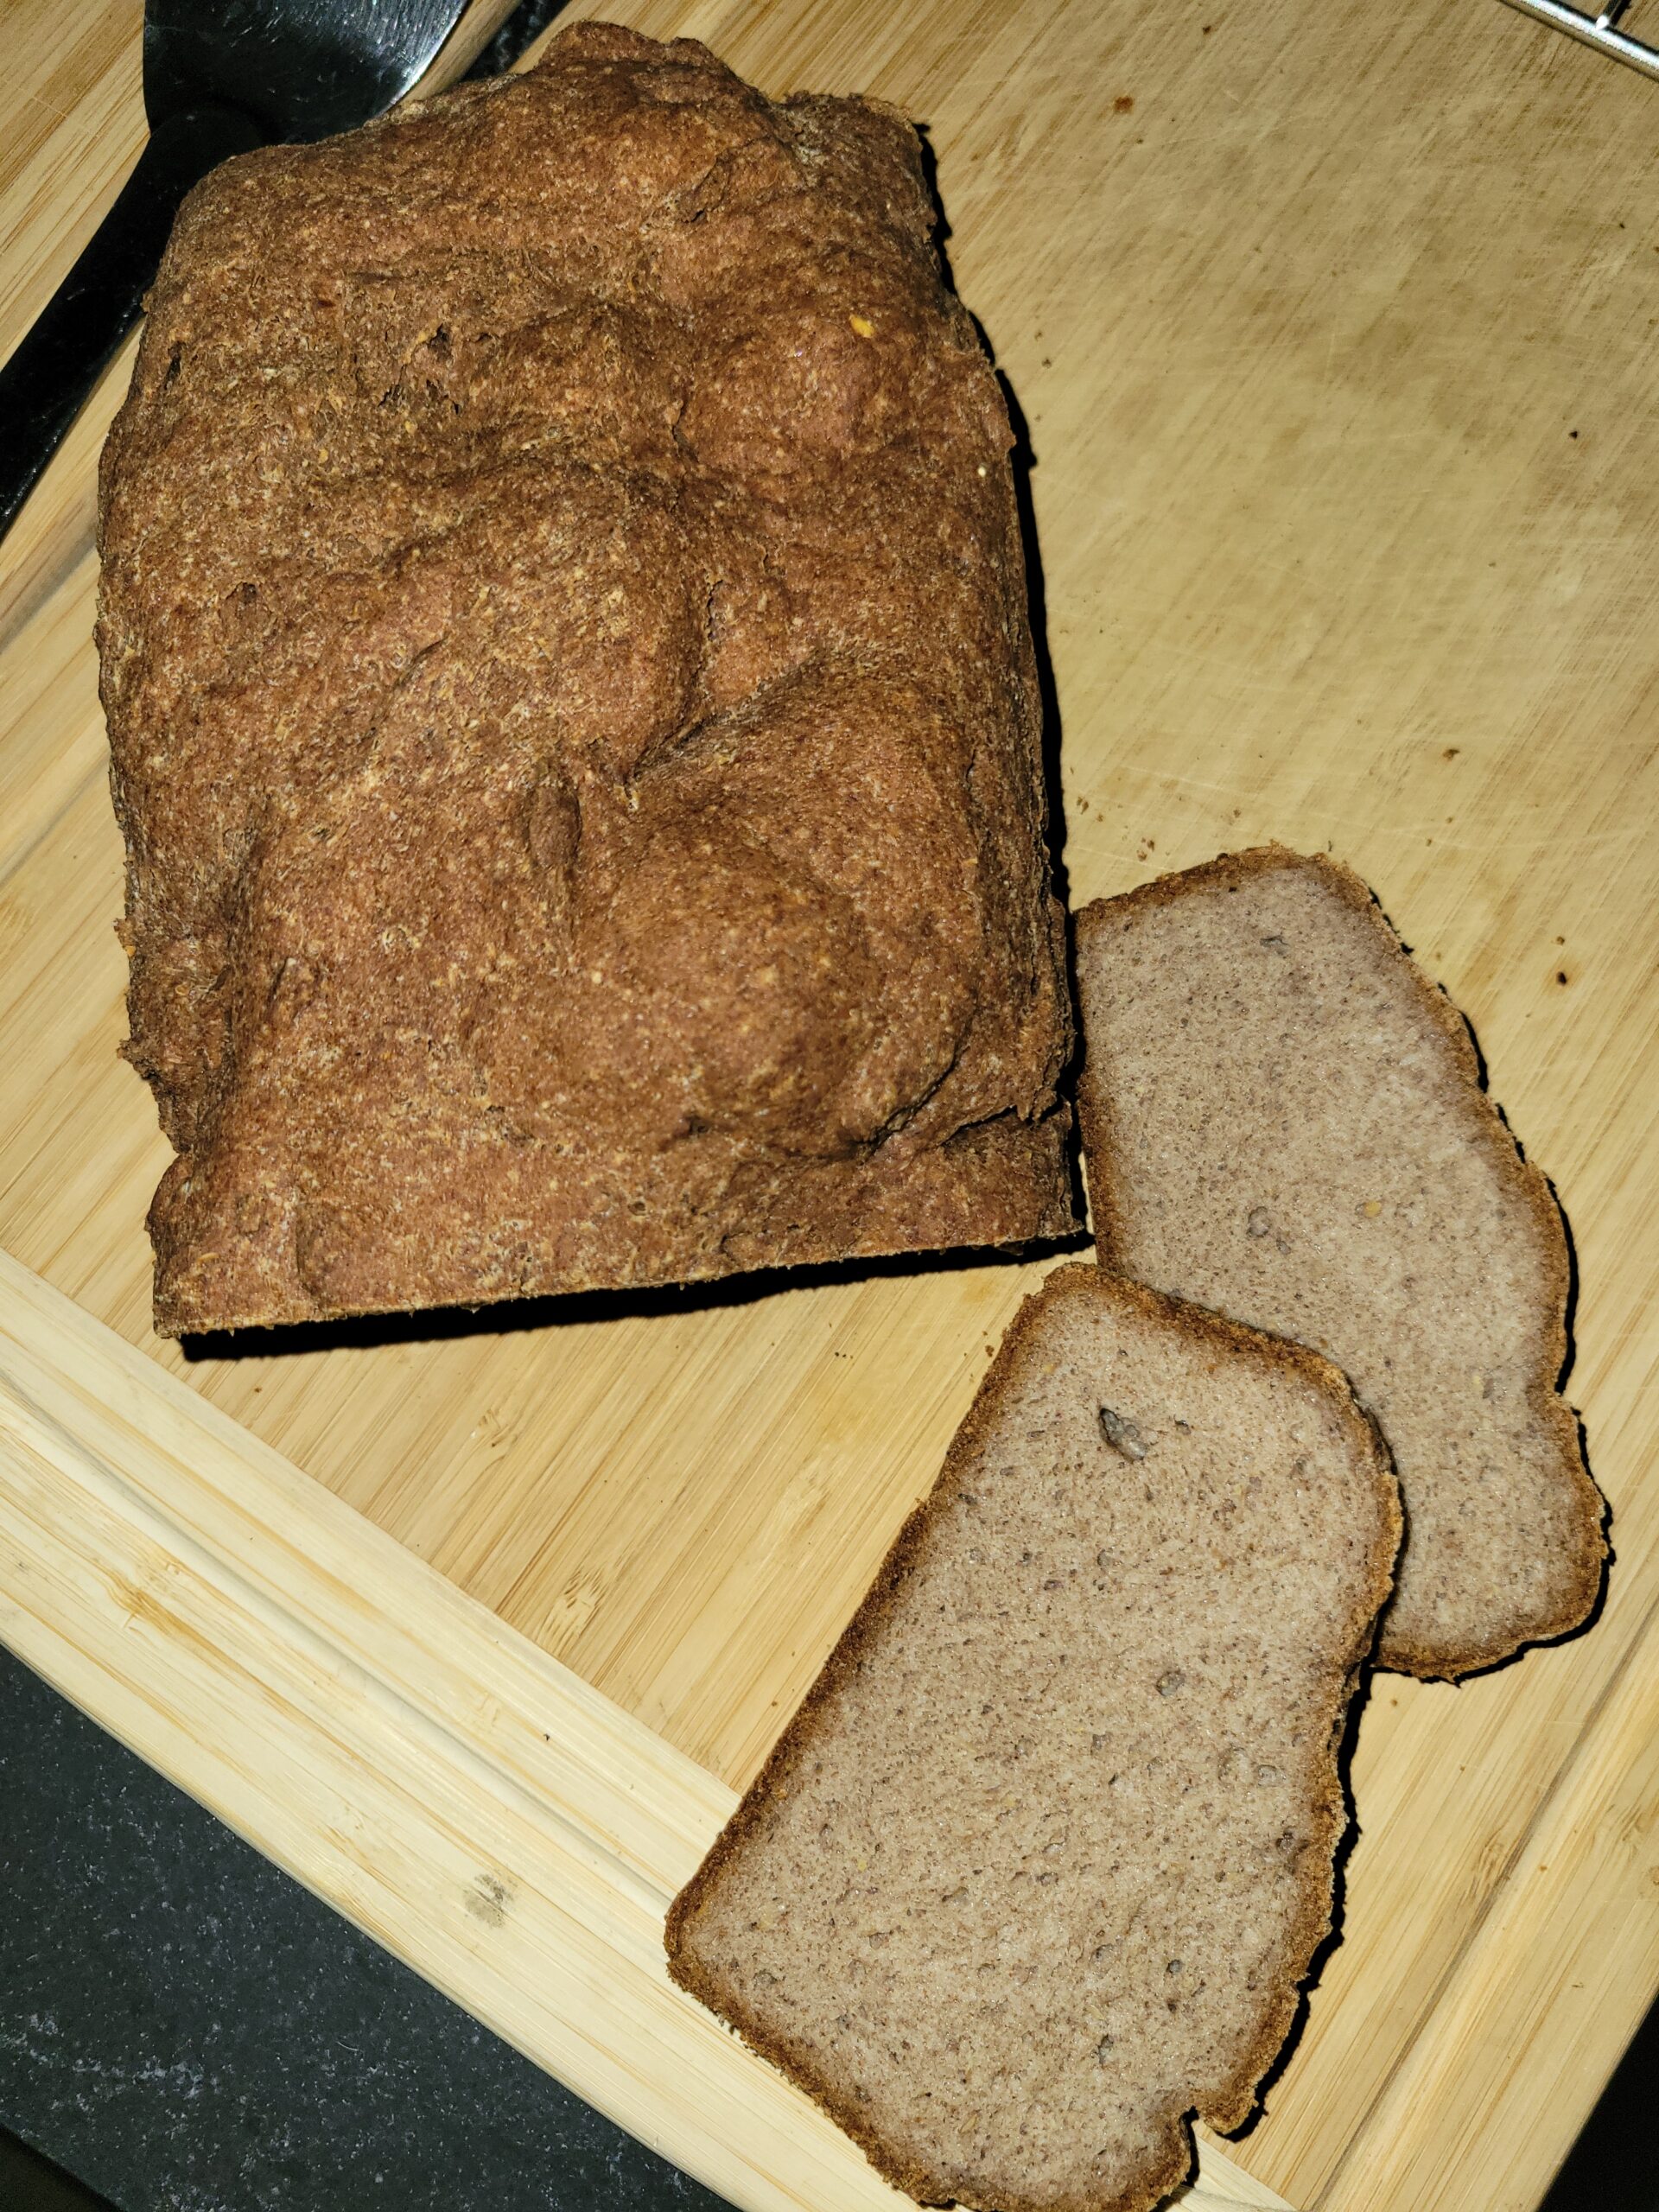
Multi-Grain Gluten Free AND Vegan Bread (makes 2 loaves)
8/29/2023
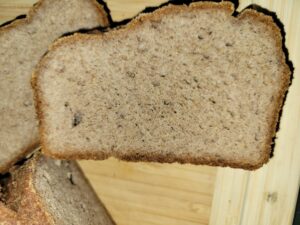
I am so, so excited. This may be my greatest baking accomplishment ever. A gluten-free, allergy-free, vegan bread that has a nice texture, tastes good, and actually slices well.
I am so grateful to all the internet folks who taught me the secret of “the flax egg.”
Make your “flax eggs.” In a small bowl, place:
Leave to soak for 5 minutes.
Whisk with a fork.
Place dry ingredients in a stainless-steel mixing bowl:
Mix lightly on low speed.
Add wet ingredients to the bowl:
Mix until blended, but it will be sticky and like children’s clay.
Oil two cast iron bread pans.
Divide the dough into your two pans, using a silicone spatula to spread it evenly and smooth out the tops.
Cover with a clean cloth, place in a warm place away from drafts, let rise for 45 minutes. (A closed microwave or cupboard is a great place to let the loaves rise.)
Preheat oven to 325 degrees (convection preferred if possible).
Bake 1 hour and 15 minutes (it should sound hollow when you tap the top of the loaf with a wooden spoon).
Turn oven off, open door, let bread sit 5 minutes to adjust temperature before you move it.
Remove from oven, let sit away from drafts for 20 minutes.
Use a butter knife to carefully cut away from the 4 sides of the pan, turn the pan over on a clean cutting board, tap the bottom, and the bread loaf should come out.
Place upright on the cutting board and let cool completely.
Slice it with a serrated bread knife.
ALLERGY STATEMENT:
Gluten Free, Milk/Dairy Free, Egg Free, Tree Nut Free, Fish Free, Crustacean Shellfish Free, Peanut Free, Soy Free, and Sesame Free